 It seems like a simple question.
But I’ve seen quite a few different answers.
The phrase “flowering time” will often show up on cannabis seed packets. For example, you might see: “Flowering Time: 8 weeks.”
What does that mean? What exactly is 8 weeks long?
Does it refer to the time it will take until the marijuana plants are ready for the flowering stage? Or does it refer to amount of time the weed plants spend in the flowering stage.
And when does that time begin? When you switch to a 12 hour on and 12 hour off light cycle? Or when the plants first sprout hairs?
We’ll get into much more detail below, but for now, here is a quick answer to the question.
Contents
- 1 What Does Flowering Time Mean?
- 2 All About Cannabis Flowering Time
- 2.1 When Does Marijuana Flowing Time Start?
- 2.2 How Long Does Flowering Time Last (And How Do You Know It Is Over)?
- 2.3 What Are The Light Requirements During The Flowering Stage?
- 2.4 What Are The Nutrient Requirements?
- 2.5 What Temperature And Humidity Do Weed Plants Need During Flowering?
- 2.6 The Different Stages Of Cannabis Flowering
- 3 What Flowering Time Means: Final Thoughts
What Does Flowering Time Mean?
Flowering time refers to the amount of time the plants will spend in the flowering stage. It begins when you switch your lights to a 12/12 schedule and ends when the buds are ready to harvest.
That said, some breeders begin counting flowering time from the point when flowers begin to form, which can be a bit misleading. In this case, the actual flowering time (as understood by most breeders) would be 2-3 weeks longer.
The flowering time of cannabis plants is generally 7-9 weeks, but sativa strains can take 10 weeks or more.
All About Cannabis Flowering Time
Now that you know what flowering time means, let’s take a much more detailed look at this vital stage in your weed plants’ life cycle.
When Does Marijuana Flowing Time Start?
Most people begin counting flowering time when you switch your lighting from 18 hours per day (or even 24 hours or something more unusual, like a 6/2 lighting schedule) to 12 hours per day. But you can’t just make this switch any time. If you switch the lighting schedule before your plants are ready, you will not get any useful flowers.
You can begin the flowering stage any time after roots have been established, if you are using clones. If growing from seedlings, you’ll want to give them 2-3 weeks to mature. Ideally, you want to leave plants in the vegetative stage for at least 60 days.
A general rue of thumb is to keep the plants vegging until they have reached about half of the desired final height. That is because they will experience rapid growth during the early part of the bloom stage and end up doubling their height.
How Long Does Flowering Time Last (And How Do You Know It Is Over)?
The length of the flowering period depends on the strain. Most indica strains need less time to grow buds. They spend 7 to 9 weeks to flower. Sativa strains often need 10 weeks or more, with some requiring up to 16 weeks of bloom time.
Knowing when to end the bloom period (in other words: when to harvest your marijuana buds) can be a bit tricky. It also depends a lot on what you are looking for in your buds.
Harvesting a bit early results in buds that give you a headbuzz when smoked. In some people, they cause headaches or anxiety.
Waiting a bit longer to harvest results in buds that provide a stony, relaxing high. But if you wait too long, you get weak bud that does little except make you sleepy.
So what is “a bit early” or “too late?”
There is no set number of days or weeks at which all plants are ready for harvest. It varies considerably between strains. And it’s the plants that tell you when they’re ready.
They actually tell you in several different ways. One is easy to see, but not especially accurate. Another is more accurate, but you need some kind of magnifier to read what the plant is telling you.
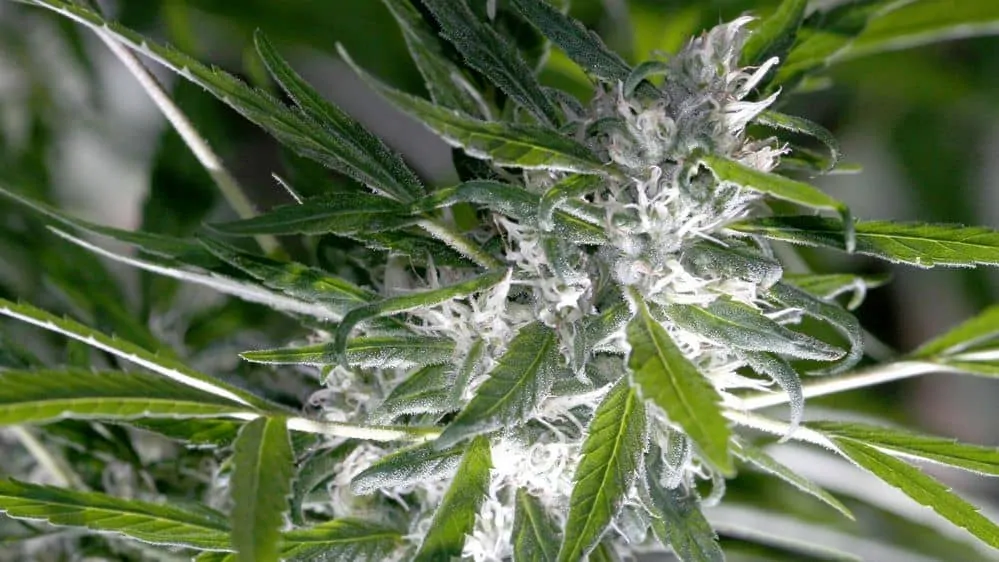
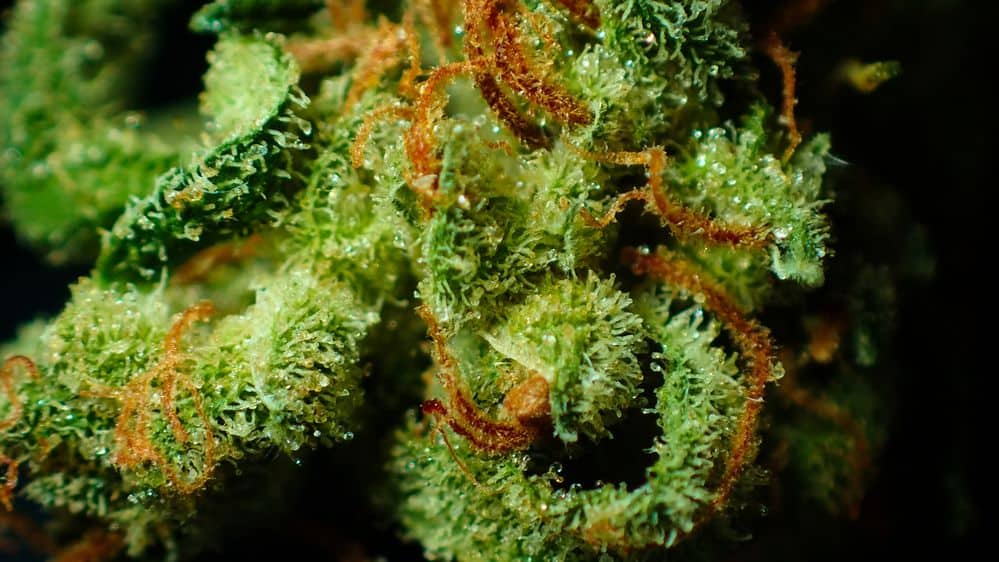
- Observing the pistils: these little white hairs growing on your bud eventually begin to darken; when 40% of them have darkened, the harvest window begins, but for maximum THC content, you want to wait until 50 to 75% have darkened before harvesting
- Observing the trichomes: use a magnifier or a microscope to inspect the trichomes, i.e. the frosty crystals, growing on your bud and pay attention to the ones with the ball on top, making them look like little mushrooms; for the highest THC levels, you want most of the trichomes to be cloudy or milky (as opposed to clear, which is too early or dark, which is too late)
Our article on the best way to grow weed has much more information on harvesting, including an image that shows what the trichomes should look like. You’ll find it toward the bottom of that page in the section on harvesting. We also have an entire article on how to harvest cannabis.
We also have an article on the best time of day to harvest cannabis that may be of interest. Finally, we cover the switch from flowering back to veg, if that is something you want to do.
What Are The Light Requirements During The Flowering Stage?
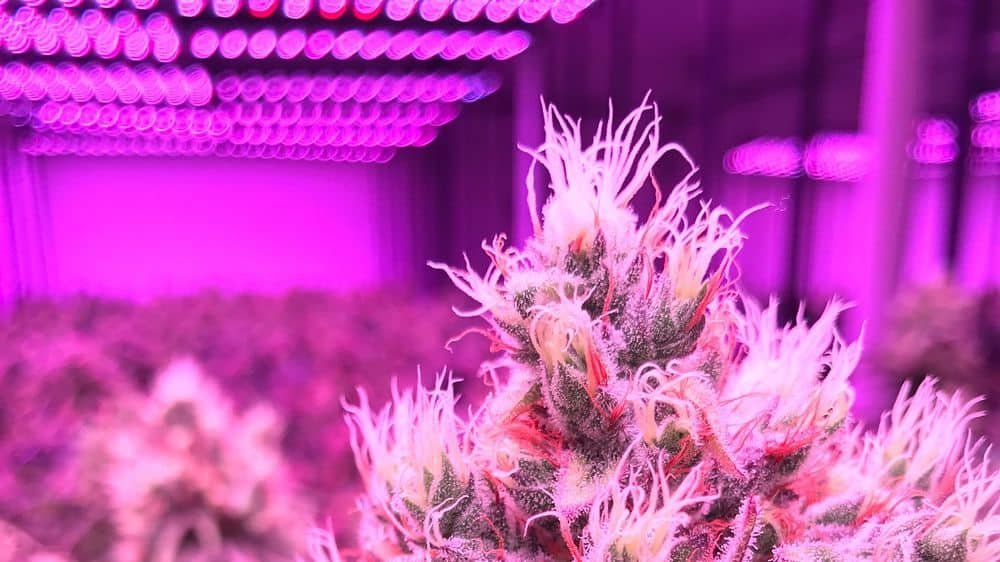
Weed plants need a lot more light during bloom than they do during veg. Ideally, you want each square meter of canopy to get 800 to 1000 umols of light or more.
We recommend either powerful LED grow lights or CMH grow lights. Those two types of lighting are by far the most efficient and they offer the best light spectrum for every stage of growth. HPS light is very effective, too, but it is not as good as a quality LED or ceramic metal halide fixture.
If you want to go with CMH, we have an article comparing the best CMH lights available. For LED, a full-spectrum LED grow light with plenty of white diodes is ideal.
We also have an article on good LED lights specifically for flowering, in case you will be flowering and vegging in separate rooms. You’ll notice some of the best flowering lights are also our top choices overall.
Finally, this article discusses all the best bulbs for flowering.
What Are The Nutrient Requirements?
When cannabis plants first start flowering, they need a lot of nutrients. After about a month, the need for nutes diminishes. The food they need differs from the vegging stage, however. Specifically, marijuana plants no longer need a lot of nitrogen in the bloom stage.
Some growers stop giving any nitrogen at all toward the end of flowering. If you want to do this, you can recognize when to stop using nitrogen during flowering when you see the that lower leaves on the plants are turning yellow.
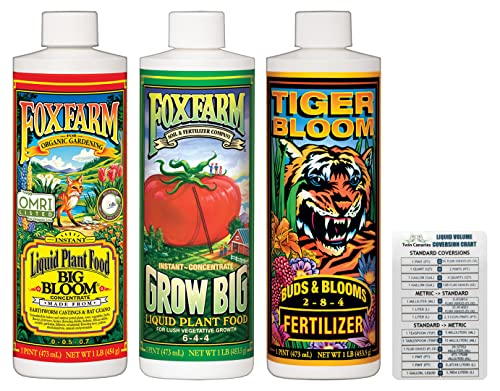
The easiest way to ensure your plants get the correct amount of each nutrient is to use a set of them made specifically for cannabis. These sets contain separate bottles for vegging and flowering. This nutrient solution set from Fox Farm is perfect for weed plants.
Begin by giving your plants about half of the amount recommended on the bottle of your flowering nutrient solution. If they are growing rapidly and need more, up the amount to 3/4 of the recommendation.
But don’t abruptly switch to the flowering solution. You’ll want to continue giving your plants the growing solution for the first week or so. Always keep an eye out for signs of nutrient deficiency or excess. This cannabis nutrient deficiency chart can help.
The timing of when to start using bloom boosters is also important. Too early and it can have a negative effect on your plants. You generally want to start using them a week into the flowering stage.
Around the halfway point of the bloom stage, you want to begin reducing the amount of nutrients gradually. During the last few weeks before harvest time, the plants should no longer be receiving any nutrients.
It will appear as though the plants are dying. They are, in fact. They are putting everything they have into bud growth and letting everything else die away.
That is why you should not give them any nutrients at this stage. They will not use them anyway and the nutrients will just end up going to the buds and imparting their flavor on them.
Some growers also like to add a bit of molasses to the water and nutrient solution they give their plants during flowering. This does provide some benefits, but it also carries some risks. We have an article on molasses for weed plants that covers everything you need to know.
What Temperature And Humidity Do Weed Plants Need During Flowering?

Mold can become a problem during flowering, so you want to keep the humidity lower than during vegging.
Powdery mildew is another common problem that affects cannabis buds and results from excess humidity. Ideally, you want to prevent this, because spraying your buds before harvest to remove the powdery mildew is not a good idea. Better to not have any in the first place.
Try to maintain a relative humidity of 40 to 50% during the beginning of the bloom stage and between 40 and 45% during the final few weeks.
The temperature should be lower as well, but there is a fairly large range you can keep it at. As long as you keep it between 65 and 80° F (18 and 26° C), your plants will be fine.
Due to the heat from the additional lighting output, you will definitely need to know how to cool your grow tent, in order to maintain the correct temperature.
The Different Stages Of Cannabis Flowering
For most strains of weed, the bloom stage lasts around 7 to 9 weeks. Here we will take a look at each week, so that you know what to expect. If you have a strain that takes longer, the stages are still the same, but things that generally happen in, say, week 5, will happen in a later week instead.
1st Week
The first week is one of rapid growth and the early part of flowering is often referred to as the “stretch phase” as a result. Some plants will double in height during the first few weeks. In addition to height, plants also grow a number of new leaves.
All of this growth naturally means a greater need for nutrients. During this first week, you want to continue with growth nutrients (instead of just switching abruptly to the bloom solution), but perhaps up the amount.
It is also a good idea to use techniques like low stress training on your plants. This refers to the bending of stems downward and away from the core of the plant, to get it to grow outward more, instead of up.
This creates a lower and more even canopy, which means more space for bud growth and thus higher yields. The key is knowing when to start low-stress training and how to do low-stress training correctly.
2nd Week
Week 2 brings two important changes. The first is plant food. This is where you begin to up the amount of flowering nutrients. Check the manufacturer’s nutrient schedule and begin with half the amount indicated. Increase as needed.
The second change is that your plants will begin showing their sexes so you can tell if you have a male or female plant.
Female plants will start growing fine, wispy white hairs at the junctions of the fan leaves and the main stem. These are the hairs that eventually become buds.
If your plant does not grow any of these hairs and instead has pollen sacks, you have a male. Remove any male plants now. They will not grow any buds anyway and they will pollinate the females, which means buds full of seeds.
Learn more about telling the difference between female and male weed plants before flowering.
3rd Week
In weeks 3, the rapid growth should begin to subside. By now your plants will be about 50% larger than they were when you first switched the lights to a 12 hour schedule.
You should also begin seeing bud growth at the locations where the wispy white hairs are. Your marijuana plants will now begin diverting most of their energy to the production of flowers, so you want to make sure they are getting the correct nutrients (i.e. a blooming solution).
Make sure you do not overfeed your plants, though. The first sign that you are giving your plants too many nutrients is discoloration in the tips of the leaves. If you see this, cut back on the solution.
4th Week
By week 4, growth has probably halted completely. Growth of the plant that is. The buds should be growing stronger than ever!
In addition to getting bigger, the buds should also have white hairs sticking out. Increased trichome production means they begin smelling as well.
5th Week
Bud growth continues stronger than ever. Existing buds get larger and new buds form as well. The distinctive cannabis odor becomes very intense at this point, so you may need to get a good charcoal filter to mask this smell, unless you are growing openly.
Some of the white pistil hairs may begin to darken during week 5. You may also notice some of the trichomes becoming cloudy.
If you remember the section on harvesting above, you’ll know that this means they have reached the point where you could begin harvesting them, but probably shouldn’t yet, if you are looking for maximum THC content.
The Final Weeks
Once the hairs darken and the trichomes become milky, your plants have entered the harvest period. This may happen in the 5th week, but generally happens in the 6th or 7th.
From that point, you want to wait until 50 to 75% of the hairs have darkened, or most of the trichomes have become cloudy, before harvesting.
One technique you might want to employ during the final stages of flowering is flushing. This is a technique that many people swear by, but others malign (as you’ll know from some of the comments people have left on several articles on this site).
Flushing means cutting out all nutrients and instead giving the plants only neutral (pH-balanced) water. This flushes out any minerals in the soil and supposedly makes for better tasting buds that produce a smoother smoke and no unpleasant chemical taste.
What Flowering Time Means: Final Thoughts
You should now know exactly what flowering time means and how to get your plants to begin flowering, and get through the flowering stage with maximum bud production.
Ottorino says
Ottimo servizio.Grazie