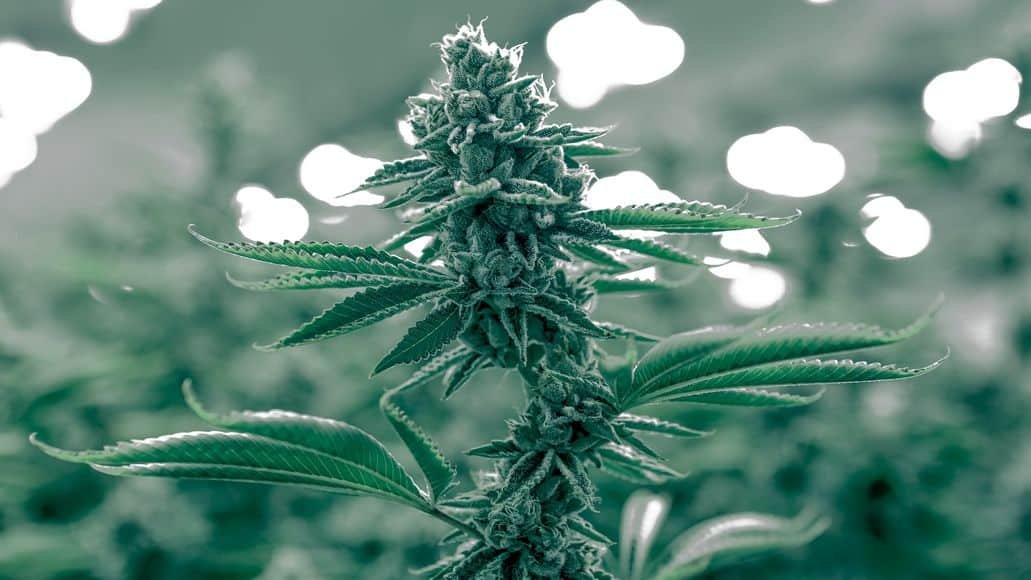
 Denser buds have many advantages.
Especially when growing indoors where space is limited.
Denser buds means more flower material in the same space. It is, simply put, more efficient.
But how do you get denser buds? Is that even something you can control?
It is. And we will show you how to get denser buds.
We will give you a number of easy steps that all contribute to denser buds. Do them all, and the increase in density can be significant.
Contents
- 1 How To Get Denser Buds
- 1.1 Step 1: Choose The Proper Strain
- 1.2 Step 2: Prepare The Soil And Pots
- 1.3 Step 3: Thoughtful Plant Placement
- 1.4 Step 4: Control Light Exposure
- 1.5 Step 4: Manage Temperature And Humidity
- 1.6 Step 5: Facilitate Proper Ventilation
- 1.7 Step 6: Feed Essential Nutrients
- 1.8 Step 7: Prune And Thin Plants
- 1.9 Step 8: Harvest At Optimal Times
- 2 How To Grow Denser Buds: Final Thoughts
How To Get Denser Buds
There is not one single thing you should do to grow denser buds. Instead, it is simply a matter of optimizing growing conditions for your plants. The following steps all help you do that. Try to do as many of them as you can, for the best results in improving the quality of the cannabis buds.
Step 1: Choose The Proper Strain
Not all strains of cannabis will yield dense buds. Choose a strain that originated from mountainous regions. Strains from cooler climates will naturally produce dense buds because they have a shorter plant structure and faster flowering times.
Indica-dominant strains are the best choice. The top 5 best hard, dense strains are:
- White Rhino
- Strawberry Kush
- Skywalker OG
- MK Ultra
- Afghan
You can find these strains at any of our favorite online marijuana seed stores.
Step 2: Prepare The Soil And Pots
Plants with strong roots will produce more stable branches and stems. Aerate the soil to encourage healthy root growth. Adding a slow-release fertilizer to your soil will supplement the natural soil with essential nutrients that will assist with strong plant growth.
Adding nutrients to the water works just as well. In fact, we prefer to do it that way. We have an article detailing how often to add nutrients for best results. Whether you plant indoors or outside, properly preparing the soil is an essential first step in the planting process.
Growing marijuana indoors allows you to control the environment completely. That means you can ensure denser buds better than outdoors. Of course, growing outdoors generally gives plants more space to grow, which means more bud sites and larger buds.
When growing indoors, plant cannabis in air or smart pots. Air and smart pots promote better air circulation at the roots. They also allow the plant’s root system to grow down instead of out toward the side.
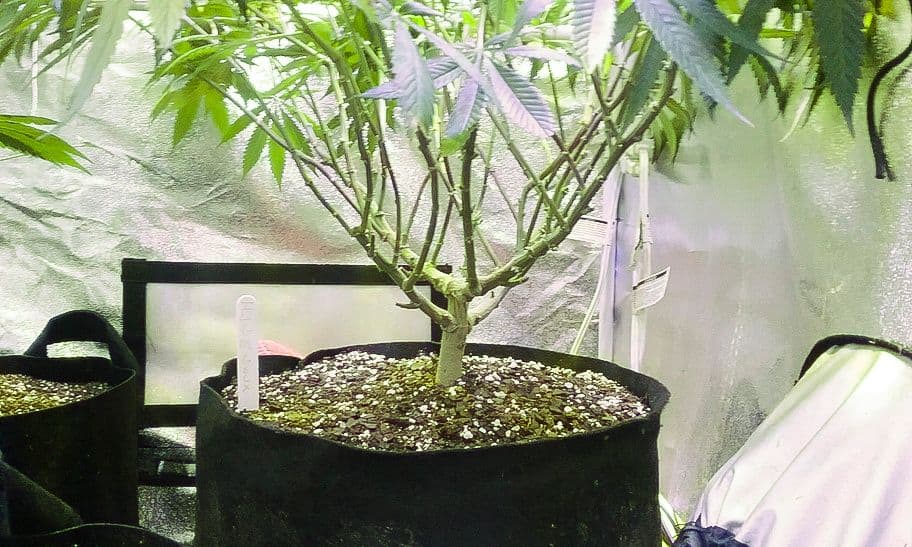
This creates a stronger and more stable plant. Air and smart pots are a much better choice than plastic or ceramic for indoor grow areas.
Step 3: Thoughtful Plant Placement
Do not overcrowd your cannabis plants. This is especially important for outdoor cultivation. Do not plant leafy or tall vegetation around your plants, because it will create too much shade. You want to allow room for each cannabis plant’s roots to grow freely from one another.
Leave up to 6 inches of space between each plant. Root stunting due to proximity is less of an issue for indoor growers, but it is still important to make sure larger plants are not shading smaller ones. Try to keep them all the same size. Pruning your weed plants is the way to do this (see below).
Step 4: Control Light Exposure
Light is essential for plants to grow strong. And it is essential for good flower growth. Of course, there is a big difference in lighting between an outdoor and an indoor cannabis grow operation.
Outdoor Light Control
Cannabis plants need 8 hours of direct sun exposure per day. Before planting, make sure the area you have designated for your outdoor grow space receives a suitable amount of sunlight.
If the plants are in direct sunlight for more than 8 hours or if you live in an extremely hot climate, it will be necessary to shade the plants for part of the day.
Indoor Light Control
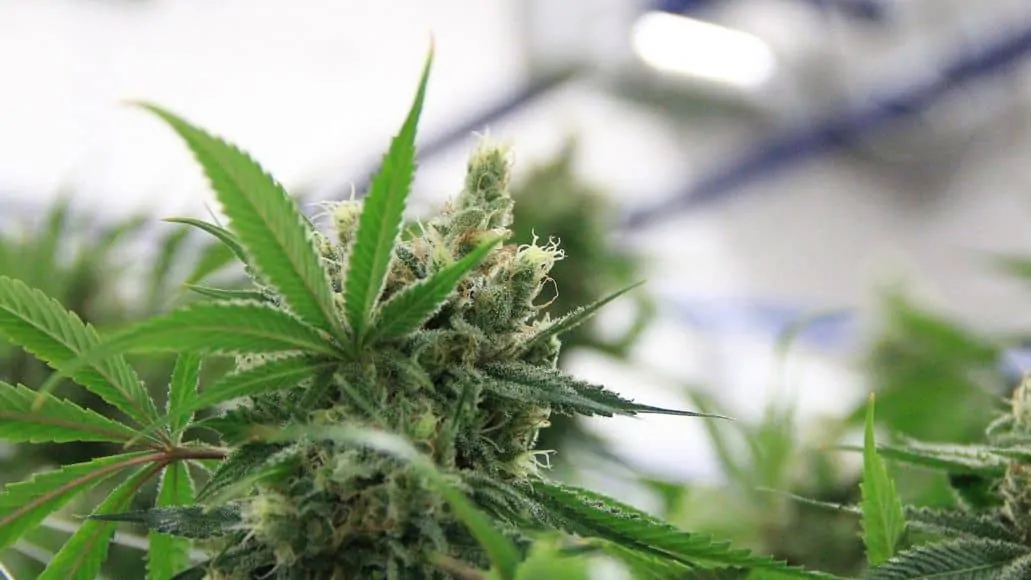
The most common cause of airy buds in indoor growing areas is a lack of light. Make sure to stage grow lamps throughout the grow area. You also want to make sure you buy the best grow lights you can afford.
These days LED lights are by far the best option. This article covers the best LED grow lights for your money.
Do not put the lights too close to the plants. Use your hand to test for the appropriate distance. Place your palm on the plant so that the back of your hand is directly in the lamp’s light. If the heat is too hot within 30 seconds of exposure, the grow lamp is too close to your plants.
Another trick to improving light exposure is to add reflective surfaces throughout your indoor grow area. Light will bounce off the reflective surfaces and reach all areas of the plant instead of just what is directly exposed under the grow lamp. Any good grow tent should have reflective walls on the inside.
Step 4: Manage Temperature And Humidity
The ideal temperature for cannabis growth is between 60° and 80° Fahrenheit. It is much easier to control the temperature indoors. If you live in an area that exceeds 80° degrees Fahrenheit, especially in areas of direct sun exposure, shade your plants for a few hours.
You can also spray the plants with water to help dispel the heat. Do not spray leaves that are in direct sunlight as that may cause sunburn. Spritz lower stems and flowers instead.
Humidity preferences change throughout the growth cycle. Keep relative humidity levels under 60% during flowering time and reduce humidity to 45% in the last few weeks before harvest. Obviously, you do not have much control over this outdoors.
Step 5: Facilitate Proper Ventilation

Cannabis is naturally wind-pollinated. The plant will prioritize growing buds that receive the freshest air. If your plants are outside, air circulation is completed naturally and is not a cause for concern.
However, if your plants are indoors, add fans throughout your growing area. Good ventilation will encourage strong stem growth, which in turn will result in denser buds.
In addition, continuous air flow will disrupt humidity and moisture accumulation that can cause other issues for your plants, like mold. You want to replace the air in the tent every 5 to 10 minutes.
Step 6: Feed Essential Nutrients
Plants need food to grow. Supplying essential nutrients at the proper stages of the plant’s growth cycle will improve bud density. The three primary nutrients cannabis plants benefit from are nitrogen, phosphorus, and potassium.
- Vegetative Stage: Provide high levels of nitrogen. This will result in more stable branches that can support dense buds.
- Early Blooming: Give phosphorus and potassium to help fatten nugs.
- Flowering Stage: Feed high levels of potassium. This will increase the size and growth potential of each bud.
- End of Growing Season: Give a final boost of all essential nutrients. Increased food supply will speed up the photosynthesis process and improve the flavor and size of the final buds.
Your best bet is to use nutrient solutions made especially for cannabis. They will include dosing instruction that can guide you in knowing how often to provide nutrients and how any to provide at various stages.
An indoor supplement option is CO2. Adding CO2 to your grow tent will make your plants photosynthesize faster. Nutrients and water are absorbed at a quicker rate, resulting in bigger and denser buds. However, it is expensive to maintain and usually disrupts humidity levels in the room.
Step 7: Prune And Thin Plants
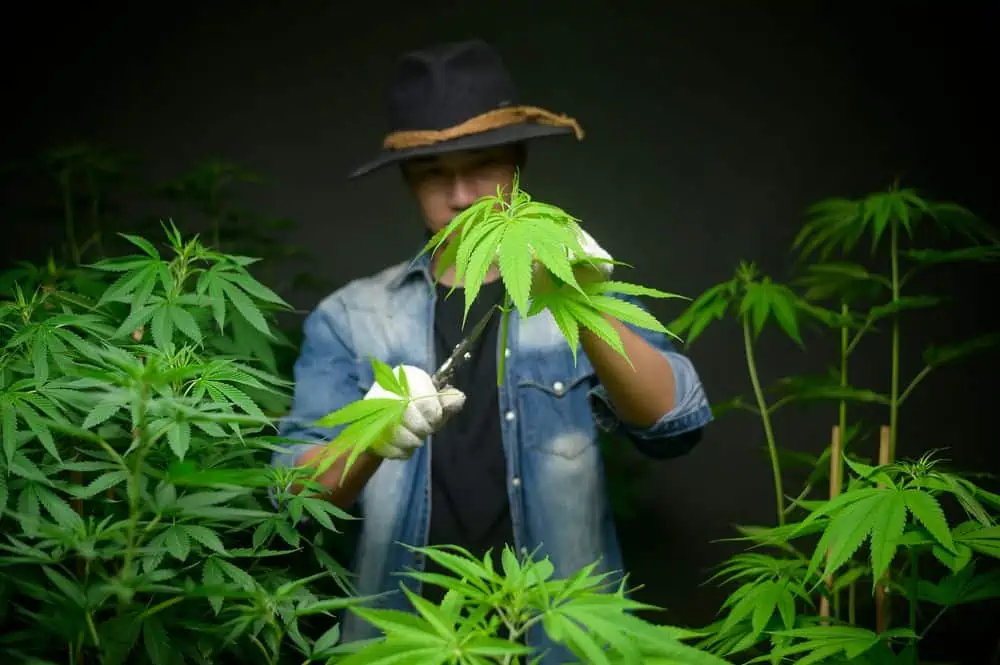
Cannabis plants will attempt to develop every bud. Unfortunately, even with proper air circulation, light exposure, and temperature control, lower buds will not grow to be large. In some cases, they won’t even become viable.
Spare the plant an unnecessary expense of energy by pruning low buds. It is also important to thin out small sticks and branches that grow between stems. This will open up the air flow and allow light to hit more areas of the plant.
Pruning and trimming are also good ways to make buds bigger. This works in the same way as it works to make them denser. Our article on lollipopping details a good pruning strategy.
Step 8: Harvest At Optimal Times
Don’t harvest too early! Many strains of cannabis grow an additional 25% in size in the last two weeks of their growth cycle. Harvesting early cuts off growth potential.
Inspect buds with a magnifying glass to determine whether or not they have peaked. It is also wise to sample small bits of each bud to assess flavor, potency, and density before harvesting. This article on growing weed covers when to harvest cannabis for the best results.
How To Grow Denser Buds: Final Thoughts
Growing denser buds is simply a matter of optimizing growing conditions. And, of course, starting with the right strain. Hopefully the steps above have helped you provide the ideal growing conditions for your plants, and that has led to denser buds, as well as larger ones.
Not only that, but improving the environmental conditions for your marijuana plants will also result in higher quality buds. They will end up being more potent. And that is, perhaps, even better than higher density. Of course, best of all is achieving both!
Reg says
Thanks, New grower.
Adam Margetson says
Very helpful and informative.
Bob says
Have you written any books on growing? If not do you have any recommendations?