 Don’t you need grow lights to start seeds?
Not at all!
In fact you don’t need any lights at all.
Seeds sprout in the dark.
Once they sprout, they will need light, however.
But they don’t need a powerful light, so you can still easily get by without a grow light.
The key to getting seeds to sprout is not the light, but good preparation. And a lack of light.
Keep reading to learn how to effectively start seeds to ensure the best chance of success. And by success, we don’t just mean a sprouting seed, but a strong, high-yielding adult cannabis plant.
Contents
How To Start Seeds Indoors Without Grow Lights
There is no need for a grow light of any kind to start growing a seedling indoors, but you will need a light source (or the sun) when the second stage of growth begins.
What You Will Need
- Some normal paper towels
- Glass or cup of water
- A container with a lid (Tupperware works great)
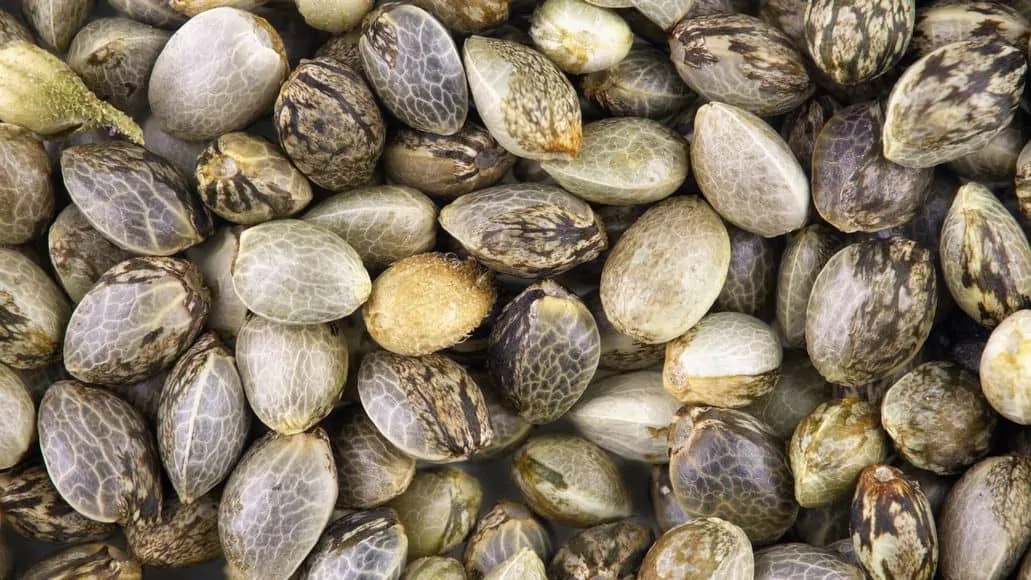
- Cannabis seeds
- Good water sprayer
- Thermometer
Paper Towels
Any paper towels will do the trick, but the best ones are actually the cheap ones, because they are less absorbent. More absorbent towels, you run the risk of the taproot (the first little root that sprouts from the seed) growing into the towel material.
Glass Of Water
This can be any glass or cup. You just need something capable of holding water that won’t easily spill or tip over, if it gets nudged.
Container With lid
It is best if you can get one that is not transparent or translucent. A plastic Tupperware that is a solid color with a lid that does not let in light is going to be your best bet here.
The idea is to provide a sealed environment that is dark and damp. Also, make sure the container has a good seal.
Cannabis Seeds
Feminized seeds are more expensive but will give you a much more valuable crop. Normal seeds are great too, but just be aware there is a good chance you will get some males, or hermaphrodites, which are both male and female and produce seeds themselves.
If you keep them, your harvest will be far less valuable, because the buds will be full of seeds. Most growers remove male and hermie plants for this reason, but that is up to you. Some people try to turn hermaphrodites back into females, but that is a bad idea for several reasons.
Any good seed bank sells feminized seeds and the price difference is very much worth it. You can see our comparison of the best places to buy seeds online here.
You can also make your own feminized seeds. The process is easier than you probably think. We have an article on how to make feminized seeds.
In the end, I recommend keeping things simple. Buy a good strain for beginners and make sure the seeds are feminized. My favorite strain for beginners is Northern Lights.
It is a classic that has been perfected over many years. It grows fast and is easy to grow, but delivers great yields.
Water Sprayer
You want to get a good one, because it is just plain annoying when you get a cheap one and it breaks immediately or drips all over when you spray it. There is no reason to skimp on this item, because a good one is only about five bucks.
Thermometer

This is not critical, but if you are germinating somewhere with a dynamic temperature, it is important to try to keep your germination room around room temperature, or about 76 to 78 degrees Fahrenheit. If it gets a little warmer, that’s OK. But if it gets too cold, it will hamper your results.
Preparation
Before you begin the germination process, which is the first step of growing cannabis, you need to follow the basic preparation steps.
Some of the following steps are not critical but merely best-case scenario steps to help you get the best possible seedlings.
Store Seeds Properly
Store your seeds in a plastic sealed bag in a cold spot, like the refrigerator. The bag is to avoid any contaminants getting on your seeds and compromising their health early on.
The cold temperature of the refrigerator (or a cooler) is to trick the seed into thinking it is winter during the storage phase, to keep them from germinating. When you take them out to start germinating them, it seems like spring and triggers sprouting.
Presoak The Seeds
Presoak your seeds in a glass of room temperature water for 12 hours. Be careful not to oversoak them. Oversoaking will drown them and deprive them of oxygen for too long.
This is an easy step but be careful not to lose track of where the seeds are. Do not misplace them or the glass.
Soaking has the added benefit of helping you identify which seeds are likely to do well. If the seed sinks to the bottom of the glass after 12 hours, it is a good seed that is ready to germinate. If the seed floats and does not sink, it is not ready to be planted.
Get A Spray Bottle And Cooking Timer
Purchase a small water spray bottle and a basic cooking timer. These items are both cheap, but they will make your germination process so much easier and more effective. You can get both of them for around five dollars, give or take a dollar or two.
Get A Notebook
Purchase or set aside a notebook to track your plant’s growth and germination tasks.
A Note About the Sex of Seeds
This is important (not necessarily for the germination step), because it will inform the rest of the growth process to some extent. There are 2 kinds of seeds.
- Feminized Seeds: these seeds will only produce female cannabis plants; feminized seeds are more expensive and not as plentiful, but they do produce female plants, which are the most desirable.
- Normal Seeds: Normal seeds are more common and can produce male or female plants; they are less expensive and easier to deal with overall.
Sadly, there is no way to tell if you have feminized or normal seeds in seed form. Usually, you will know if you have feminized seeds, because you will have paid for them. They cost sa bit more, but it is well worth it.
Begin The Germination Process
The following steps will ensure the best possible chance of successful germination. As you will see, not only can you start seeds without a grow light, but you should start them without any light whatsoever!
Set Up Your Environment
As I mentioned earlier, I like to use Tupperware for this because it has a good seal, and the colored ones are pitch black inside when closed.
Wash your container and the lid with hot soapy water and then dry it completely. This is important to avoid any contamination of the environment before you place any seeds in there.
Line your container with a paper towel. I like to fold my paper towel over itself at least once. Twice is OK, but once is ideal. Make sure the paper towel extends to the edges of the container.
If possible, find a closet or darker area of the room to set your container when it is ready. This keeps light from landing on your seeds during the germination process.
Place Your Seeds
Take the seeds you have selected for germination and place them in the container on top of the paper towel. Try to give them a couple of inches of space between each other, to allow a bit of air space and even ventilation.
Once the seeds are in place, spray them and the paper towel with water. You want the paper towel to be moist, but not soaking. It is best if the water is at room temperature.
Cover your container with its lid and place it in a dark place that is room temperature, or a little bit warmer.
Babysitting Time
Once your seeds are in a closed container and a warm, dark place, you need to check on them every few hours to make sure the paper towel is still moist.
It is important to keep the paper towel moist but not soaking wet. If there is too much water, the seed will not sprout.
Open the lid and spray the area as needed then close the lid quickly to avoid letting all the moisture out or letting too much water in.
What To Expect
It can take over a week for some seeds to sprout. However, that is mostly what happens with older seeds that have not been prepped correctly. More likely, you will see sprouting start between 1 and 4 days.
What to Do When the Taproot Sprouts

Eventually, you will see the taproot come out of the seed. When this finally happens it is time to move the seed to a container. For your first grow, I recommend putting it in the final container (a 5-gallon fabric pot, if you are following my advice for beginners), to keep things simple.
Yes, the plant will grow a bit slower at first, if you put it in a large container. Using a small one, like a plastic or Styrofoam solo cup, does lead to faster growth. But it also means transplanting your plant to a larger pot.
And that makes things more complicated. It could shock the plant, leading to a pause in growing. If you transplant too soon or too late, it also delays growth.
In the end, it is a lot easier to put the sprouted seed directly in the final pot.
For future grows, I recommend putting your sprouted seed in a plastic or Styrofoam solo cup and transplanting it once it grows larger, but not for the first few grows.
Keeping things as simple as possible is our goal for the first few grows, after all. If you do decide to use a smaller pot or a solo cup, we have an article on how and when to transplant your cannabis seedlings.
If you decide to put your sprouted seeds in their final pot as recommended, you’ll want to fill your fabric pots with the coco mix or soil, leaving about 2 inches (5 cm) between the top of the soil or coco and the top of the pot.
Use your finger to poke a hole, about a knuckle deep, in the growing medium in the middle of the pot. The hole should be so deep that the taproot fits into it and leaves the seed just below the surface of the medium.
Gently pick up your germinated seed, taking care not to damage the taproot. I like to use a pair of tweezers to pick up the seed. Place it into the hole in the growing medium, with the taproot pointing straight down.
Fill the hole back up, just covering the seed. Add some water to the soil to make it moist. You do not need any nutrients at this point, since the seed has stored nutrients it will use in the beginning.
Seeds need humidity. I like to make a little humidity dome by cutting the top of a plastic bottle off and placing that (with the lid on to seal the air in) above the spot where the seed is.
I also like to give my seed some light at this point, though you can also wait until it sprouts. But the heat from the light, and the light itself, will help encourage the seed to spout.
But make sure you do not use a full-blown grow light for this. You can just use a regular fluorescent bulb or a regular LED light.
A strip LED light works well for seedlings. You can read about the difference between grow lights and regular lights here.
If you already have a full grow light for your plants, know that it is going to far too powerful for seedlings. Either dim it way down, if it is dimmable, or hang it twice as high above the young plants as the recommended hanging height for vegging.
Of course, if you just hang a powerful light high, it will still use a lot more power than you need for seedlings, which costs you money. If your light is not dimmable, I recommend just using a regular fluorescent bulb for the seedlings for now.
You may see the seed sprout within a few hours, but it can take several days, too. If nothing happens after 10 days, it is unlikely the seed will sprout at all.
Start Seeds Without Grow Lights: Final Thoughts
Starting seeds without grow lights is how you should be doing it anyway. Seeds need darkness to sprout, so you don’t want any light, much less grow lights.
Once the seeds have sprouted, you need to give them some light. But even then, you don’t need a grow light. Seedlings don’t need a powerful light. In fact, they can’t handle a light that is too powerful.
Rather than a dedicated grow light, you are actually best off with just a regular fluorescent fixture, or a weaker LED light. Once the seed has sprouted, continue with our article on cannabis seedling care.
Daniele says
Bello