 I say this all the time.
When you are first starting out, keep things simple.
Get a few successful basic grows under your belt, before you worry about advanced techniques to boost the size of your plants and the buds they produce.
Follow the instructions in this article to set up a basic grow.
If you do everything right, your buds will actually be quite respectable already.
Then you can come back here and follow the tips below, especially the first one on pruning, to fatten up those buds even more.
Of course, if you’ve already completed a few successful grows, you’re ready to take it to the next level.
Keep reading for 3 steps you can take to get your cannabis plants to produce bigger buds.
Contents
How To Make Buds Bigger During Flowering
We will give you three steps to follow to promote healthy bud growth on your weed plants. They will also speed up bud maturation. You don’t have to complete all three. Doing just one of the steps will help. Doing all three will, of course, have the largest effect.
We also have an article on how to boost yields from autoflowering weed plants. If you are growing autoflowers, that is definitely worth a read, too.
Materials Needed
Before you get started on the ins and outs of each step, here are a few items that you may want to gather together before you get started. You will need them for the steps indicated.
- Trimming scissors (step 1)
- Fertilizer (step 2)
- pH Testing Kit (step 2)
- pH Up & Down Kit (step 2)
- Molasses (step 3)
Step 1: Correct Pruning

Proper pruning of your cannabis plants will help direct your plants’ energy to the correct parts of the plant to ensure healthy growth. The first pruning task occurs during the vegetative stage and is known as “topping.”
Cannabis plants naturally grow in a similar shape to a Christmas tree: one main stem with branches growing outwards from it. Topping your plants will allow them to grow more main stems, which provides more room for buds to develop.
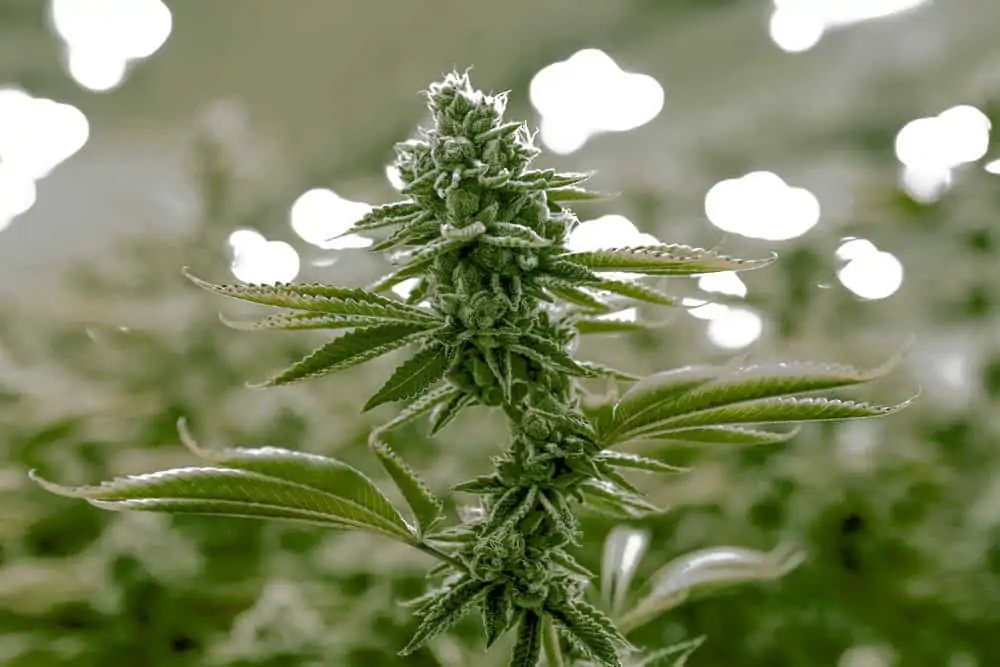
The central flower cluster that forms along the upper portion of the main stems and large branches in a mature female cannabis plant is known as a “cola”. More main stems allow for more colas to form.
To top your cannabis plants, you want to remove the top couple of inches from the main stem with sterilized trimming scissors. New growers often find this a little disconcerting at first, but once you have seen the results, you will feel more at ease chopping the tops of your plants off.
Before you top your plant, you should wait until it has grown sufficiently. Ignoring the seed leaves, you want to wait until your plant has between four and six nodes, where the leaves grow out from the main stem.
Different strains behave differently, and different growers have differing preferences, but the general consensus is to top the plant above the 4th, 5th, or 6th node.
Once you have removed the top, your plant will now develop two main stems from the point where you made the cut. This will encourage your plants to grow laterally. And they will become bushier with more leaves to take in the light. You can top plants several times, but each one will extend the total growing time.
Beyond topping, you should also keep an eye on your plants as they grow and remove any yellowing or dying leaves. Removing leaves that are past their prime ensures more of the plant’s energy is directed toward healthy growth instead of toward the dying leaves.
Step 2: Correct Feeding
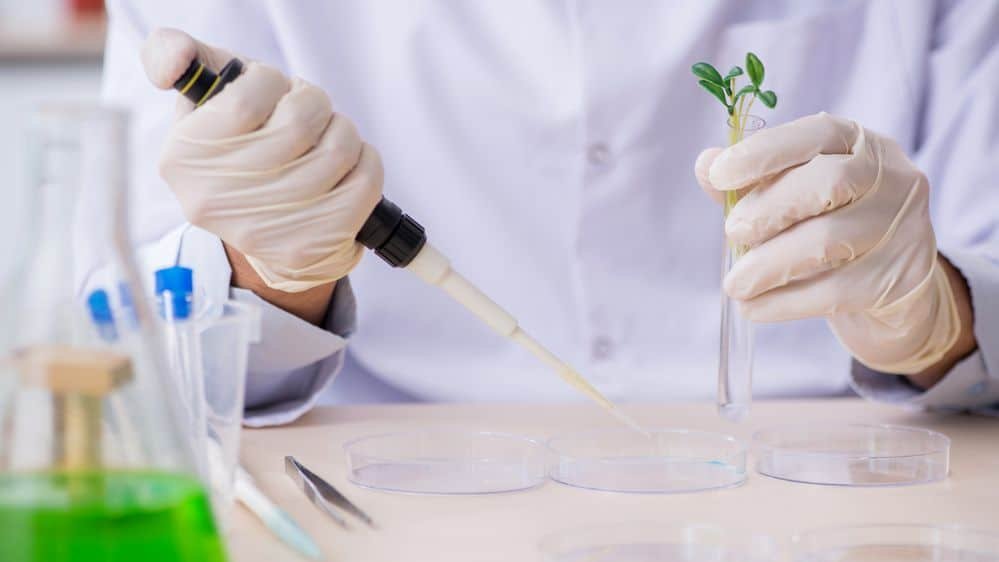
Just as humans need a balanced diet, including certain minerals, to grow healthily, so do your cannabis plants. The main nutrients your plants need are nitrogen, phosphorous, and potassium.
The chemical symbols for these three nutrients are N, P, and K, respectively. When selecting nutrients for your plants, the NPK values will be written on the packaging.
Your plants will need these three nutrients in different amounts at different stages of their growth. During the seedling phase, you should not add extra nutrients, because they can damage or burn the young plant. Once your plants have entered the vegetative stage, you can start feeding them to help them grow bigger and healthier.
Before you add nutrients, you should check the pH level of your growing medium. If the pH level is outside the recommended range, it will affect your plants’ ability to take up the nutrients from the soil.
Use a pH testing kit to determine the acidity of your soil. Ideally, you should be looking to get a reading of between pH 5.5 and 6.3. If your soil reading is outside this range, you can use a pH Up & Down Kit to adjust the levels in the right direction.
During the early vegetative stage, your plants will need nitrogen to promote leaf growth. Look for a fertilizer with an NPK ratio of 4:2:3. This will ensure a healthy early vegetative stage, and your plants should bulk out and become bushy. More leaves means your plants are able to absorb more energy from the light source.
As your plants enter the mid-vegetative stage, you can add more nutrients, with many growers switching to a fertilizer with an NPK ratio of 10:5:7.
Once your plants enter the flowering stage, they will have different nutrient demands. For the flowering stage, potassium is more important and nitrogen is less important. Popular choices for NPK ratios during the flowering stage include 5:7:10 and 6:10:15. You can also completely stop providing nitrogen, if you prefer.
Step 3: The Molasses Method
Molasses can help improve the structure of your plant’s soil and its ability to retain water. Ensuring the health of your soil is a good way to encourage healthy growth in the plant itself.
While merely adding molasses to the soil will not ensure you get big, fat buds, using it alongside appropriate fertilizers, and in conjunction with good pruning practices, will help.
Molasses is a thick syrup resulting from refining sugarcane or sugar beets into sugar. When used as a soil additive, it promotes microbial activity, resulting in increased production of succinic acid, malic acid, butyric acid, and mannitol.
Production of these common plant defensive chemicals by microbes is believed to aid in preventing plant disease. A healthier plant will produce bigger buds.
Often, manufacturers add sulfur dioxide to their molasses, which acts as a preservative and increases the shelf life of the product. This is fine when you are using molasses in the kitchen, but for the garden (or grow room), you should look for unsulfured molasses.
Sulfur dioxide also acts to kill microbes, which means it will damage the beneficial microbes within your soil.
You can use molasses in the same way you would use a fertilizer: by adding it to the soil or by adding it to a spray bottle with some water and spraying the leaves of your plants.
Learn everything you need to know about using molasses for weed plants here.
Best Nutrients For Bigger Buds
As mentioned above, the most important nutrients for cannabis plants are nitrogen, phosphorous, and potassium. The key is to provide these nutrients in the correct ratios at the correct times during the plant growth cycle (as described above in step 2).
How To Grow Bigger Buds: Final Thoughts
If you do everything right with a basic grow setup (i.e. adequate lighting, the right nutrients, good ventilation, the right amount of water, etc.) your plants will produce large buds.
Most growers will be thrilled with the results. But if you want to maximize bud production, you can implement one, two, or all three of the steps above. They will help promote increased bud growth in your cannabis plants. And given the cost of growing weed, why not spend a tiny bit more to boost your results?
It als helps to start with the right genetics. Here is a list of cannabis strains that deliver larger yields.
Mark says
Can you use molasses in coco?
If so, when?
Thanks!
Anonymous says
Only pomegranate molasses normal molasses steals thc to compensate for it’s natural sweetness we’re as normal molasses already has the correct amount of sugar happy growin
Buddy says
You can use molasses at any point.
Green says
There´s someting wrong with following: “…as your plants enter the mid-vegetative stage, you can add more nutrients, with many growers switching to a fertilizer with an NPK ratio of 10:5:7.”
4:2:3 got even less K then 10:5:7, becouse 4-2-3 ist the same as 10-5-7.5. So 0.5 less K.
Steven says
Yes, you’re still in vegging, so you still want more or less the same nitrogen-heavy ratio. This was just my way of saying you could increase how many nutrients you give (more than doubling the amount), while keeping the ratio about the same (a little less K, as you pointed out). Reading it now, I do see that it is a bit confusing. I’ll have to edit that and find a better way to say it.