 Plants need three macronutrients: nitrogen, potassium, and phosphorus.
A deficiency (or excess) in any one of them can cause serious problems for you plants.
It is something you need to fix as soon as possible.
Of course, the first step is diagnosing a deficiency or excess.
We are going to assume you have already done that and are reasonably certain your plants are deficient in phosphorus.
If not, we give some help diagnosing a phosphorus deficiency below. You can also check out our article on nutrient deficiencies for help.
Keep reading to learn how to fix the phosphorus deficiency your plants are facing. We’ll guide you through it step by step.
Contents
How To Fix Phosphorus Deficiency In Plants
Once you have verified that the problem is due to a phosphorus deficiency, you need to set about rectifying the issue.
But before you can do that, you need to understand what caused the deficiency. There are a few possible causes you should investigate.
Once you have found the underlying reason, you can readily solve the issue. Run through the following tests to figure out what is causing the deficiency, then take the steps indicated to solve it.
Test Soil pH Level
The first check to make is the pH level of the soil. The pH levels in the soil affect a plant’s ability to take up nutrients.
With cannabis plants, the optimal soil pH is between 6.0 and 7.0. A pH level of 7.0 is considered neutral, while a value below that indicates acidic soil and above a pH level of 7.0 signifies alkaline soil.
You will need a few essential bits of equipment before you can find out your soil’s pH level.
Materials Needed
- Soil pH testing kit or meter (this article on ideal water has recommendations in the section on testing pH)
- Distilled water
- Hand trowel
- Clean glassware
- Coffee filter
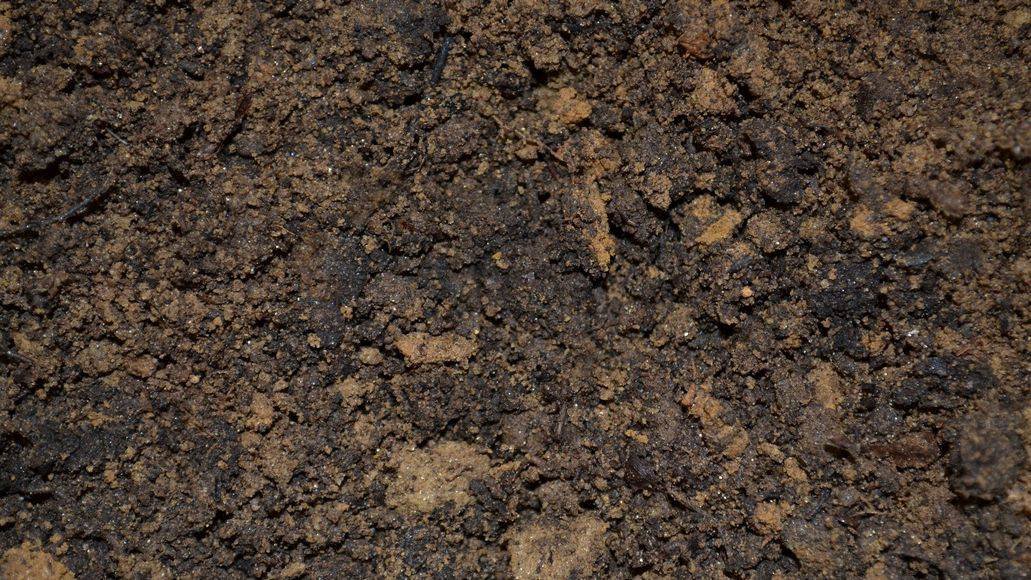
Step 1: Obtain A Soil Sample
Using your hand trowel, dig down a few inches below the surface of the soil, close to the root zone, in order to take a soil sample.
Try to get a sample that is free from too many stones and detritus. If you see any stones or twigs, take them out, so that you have a clean soil sample to work with.
Step 2: Mix The Soil With Distilled Water
Add your detritus-free soil sample to your clean glassware, and then add enough distilled water to turn the soil into mud.
Step 3: Give It A Mix
Next, give your muddy mixture a vigorous stir to ensure the soil and distilled water are well mixed.
Step 4: Filter The Mixture
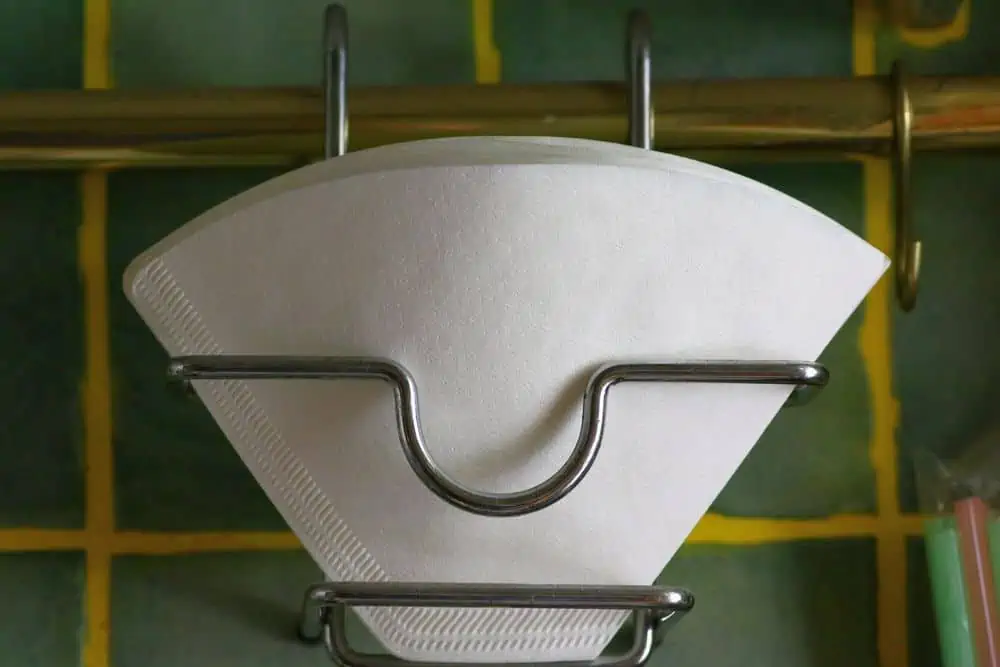
After you have ensured the soil and water are well combined, you can filter the water back out. Take another glass bowl, and using the coffee filter, filter out the solid materials and allow the liquid to filter through into the second glass bowl.
Step 5: Check The Soil pH Using The Test Strip Or Meter
Read the instructions on your pH testing kit or meter. Follow the instructions to test the pH level. In general, it will involve dipping either a test strip or the meter into the liquid.
Leave the test strip or meter in the filtered water for as long as the manufacturer recommends, and then see if the strip has changed color.
To understand the change in color, you need to compare the strip to the color chart that came with the testing kit, which will then reveal the pH levels of the soil.
If you are using a pH meter, you can just read the level off the meter itself.
Step 6: Adjust The pH Level Of The Soil
The optimal pH range for growing cannabis plants is between 6.0 and 7.0 (in soil). If the pH of your soil is outside this range, you should make adjustments to bring it back within range.
The easy way to alter the pH of your soil is to alter the pH of the water you feed the plants.
If your soil is too acidic, you can water your plants with slightly alkaline water (pH 7.0–8.0). Conversely, if your soil is too alkaline, you can water it with slightly acidic water (pH 5.5–6.5).
You can adjust water pH by adding pH ‘up’ or pH ‘down’ solution. The same article on water quality linked to above has a recommendation for that as well. You can also find recommendations for all of these items in our article on the things you need to grow weed.
Of course, when you add the water, you also need to be careful that you don’t over-adjust the soil pH level. Add water this way a couple of times and recheck the pH level of the soil every time, to see if you have brought it back within the desired range.
If Step 5 revealed your soil’s pH levels to already be within the optimal range, continue on to the next section and see if the condition of the soil itself is causing the phosphorus deficiency.
Check Soil Condition
The next check to make, should you find your pH levels to be within range, is to check the general condition of the soil.
If you are growing your plants in pots, the soil can become too compacted over time. Compacted soil makes it more difficult for plants to take up the phosphorus from the soil.
As the plant and its roots grow, they take up more space in the pot, causing the soil to become compacted. The simple solution here is to rehouse your plants into bigger pots.
If you did not see anything wrong with the condition of the soil, move on to the next step and check the temperature of the soil.
Check Soil Temperature

In order to take up phosphorus, your plants need to be in the right temperature zone, too. You need to be careful that your plants are not too cold.
You can use a thermometer to check the temperature of the soil close to the roots. A temperature below 15 °C will hinder the plants’ ability to absorb nutrients.
If you find the soil is too cold, that is probably the cause of the phosphorus deficiency. Bring up the soil temp by either raising the air temperature (if it is also low), or using warmer water to water your plants.
If the temperature of the soil is fine, the next possible culprit you need to look at is the nutrition you are giving your plants.
Check For Improper Feeding
It’s important to give your cannabis the right ratio of nutrients at each stage of the growing cycle. As your plants grow, they have different demands and need different amounts of nutrients.
Cannabis plants require three nutrients in large quantities: nitrogen (N), phosphorus (P), and potassium (K). Store-bought fertilizers will have a NPK ratio on the package to let you know how much of each nutrient is in the mixture.
At different stages of the growing cycle, your plants require different ratios of these vital nutrients. And different fertilizer brands use different nutrient ratios they consider optimal, so you should get the correct ratio for the correct phase of the growth.
This helps you avoid a phosphorus deficiency (or any nutrient deficiency) in the first place, since your plants are getting the correct amount of nutrients throughout their growth cycle.
The nutrient solution we recommend in the article linked to above listing all the things you need to grow weed is specialized for cannabis cultivation.
As such, it contains the exact ratio you need and has the ideal feeding schedule in the bottles. We also have an article on feeding your marijuana plants that can help. We’ll also take a look at the generally recommended ratios for each growth stage below.
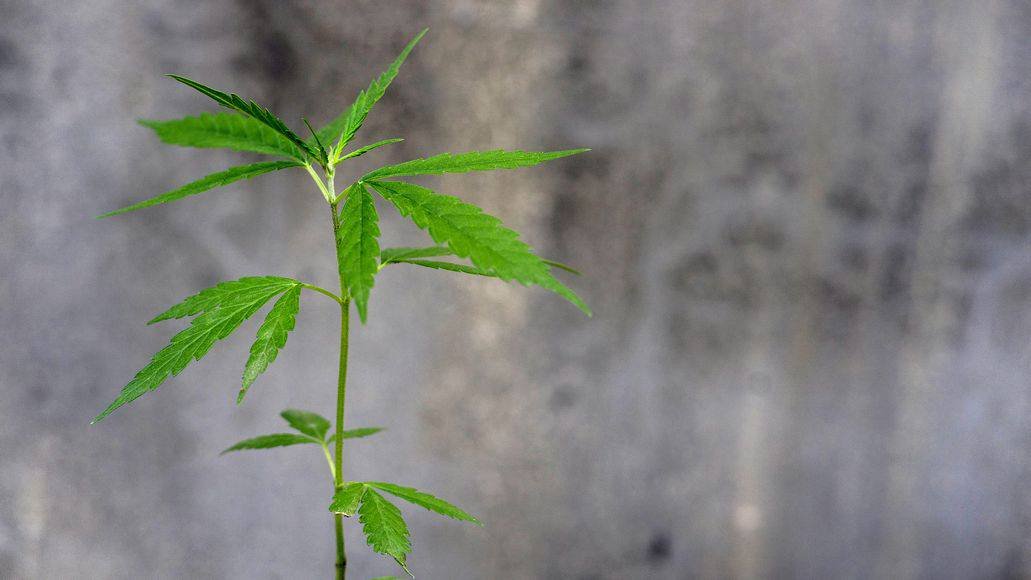
Early Vegetative Stage
Initially, new seedlings obtain nutrients from the seed. But after a few weeks, you need to start adding supplemental nutrients (unless you are using soil that has nutrients in it already).
During the early vegetative stage, you want to add the nutrients slowly. Many growers go with a NPK ratio of 2:1:2 or 4:2:3.
Mid-Vegetative Stage
After around 6 weeks of growth, your plants enter the mid-vegetative phase, and you can increase the nutrient levels. At this point, a NPK ratio of 10:5:7 or similar will help your plants grow strong.
Late Vegetative Stage
During the last week of the vegetative stage, you can then lower the NPK levels a little. Many growers opt for a fertilizer with a NPK ratio of 7:7:7.
Flowering Stage
As the plants enter the flowering stage of their growth, they will need less nitrogen, so it’s time to change the NPK ratios again. During the flowering stage, a NPK ratio of 6:10:15 should help your plant grow strong and produce a healthy yield.
You can even stop using nitrogen the last few weeks of flowering. Some growers do this, while others continue to give a small amount of nitrogen. Both approaches work.
How To Fix A Phosphorus Deficiency: FAQ
Let’s take a look at some common additional questions regarding phosphorus deficiencies in weed plants and how to fix them. If you have any additional questions, please feel free to ask them in the comments below.
How Do You Identify A Phosphorus Deficiency?
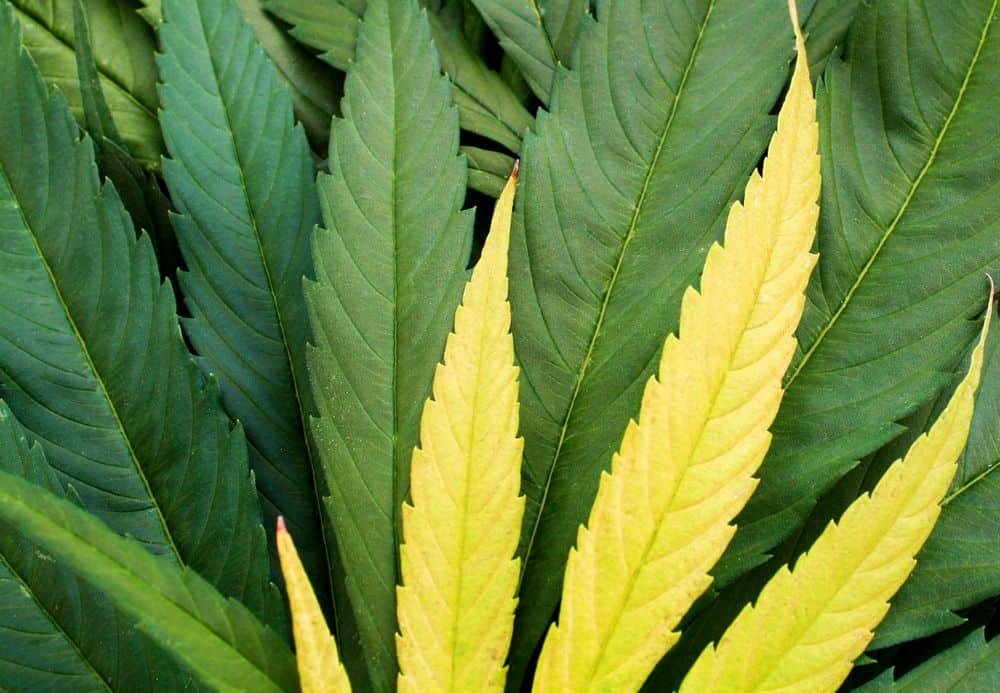
There are a few tell-tale signs to look out for that may reveal a phosphorus deficiency. The first sign is often noticeable in the lower leaves of your marijuana plants.
Leaves that turn dark green or yellow may indicate a phosphorus deficiency. If the phosphorus deficiency is allowed to continue unchecked, the leaves may start to dry and thicken, becoming stiffer.
Another warning sign is when the stems on your cannabis plants turn purple or bright red. This usually starts lower on the plant and spreads upward.
The lower leaves of your plants will eventually start to curl, if you do not recognize and fix the issue. These lower leaves will then start to fall from the plant.
If you notice any of these signs, you should start the diagnosis process to find the cause. Then you can set about rectifying the problem by following the steps outlined above.
Why Do Plants Need Phosphorus?
Phosphorus is vital for your cannabis plants’ healthy growth, since it’s one of the three primary macronutrients they require, alongside nitrogen and potassium.
In plants, phosphorus is needed to convert other nutrients into usable energy, which is essential for plant growth.
Phosphorus promotes healthy root and flower growth, which is important to ensure the health of your plants and to promote a healthy yield come harvest time.
Can I Give My Plant Too Much Phosphorus?
Yes, you can. Although phosphorus is essential for your plants’ healthy growth, it’s possible to have too much of a good thing.
If you add too much phosphorus, the excess can restrict the plant’s ability to take up other vital nutrients, such as zinc and copper.
Adding too much phosphorus can also lead to phosphorus toxicity. Signs of phosphorus toxicity include the parts of the leaves between the veins darkening or turning yellow.
Can I Use Natural Sources Of Phosphorus?

There are many naturally occurring sources of phosphorus you can use in the garden, including bat guano, bonemeal, burned cucumber skins, hair, and mushroom compost.
However, you do not always know the levels of nutrients in these natural fertilizers, and the levels can vary a lot.
This makes it difficult to ensure your plants are receiving the correct amounts of each nutrient at each of the different stages of the plant’s growth.
Fixing A Phosphorus Deficiency: Final Thoughts
Hopefully this article has helped you fix your plants’ phosphorus deficiency and gotten them back on track. If it has not, it is possible that your plants are actually facing some other issue.
You can check this marijuana nutrient deficiency chart and guide to help you figure out which nutrient, or nutrients, your plant is lacking. Or which it has in excess. Hopefully you are able to diagnose and fix the issue before it causes your plants any more harm.
Leave a Reply