 I have some good news for you.
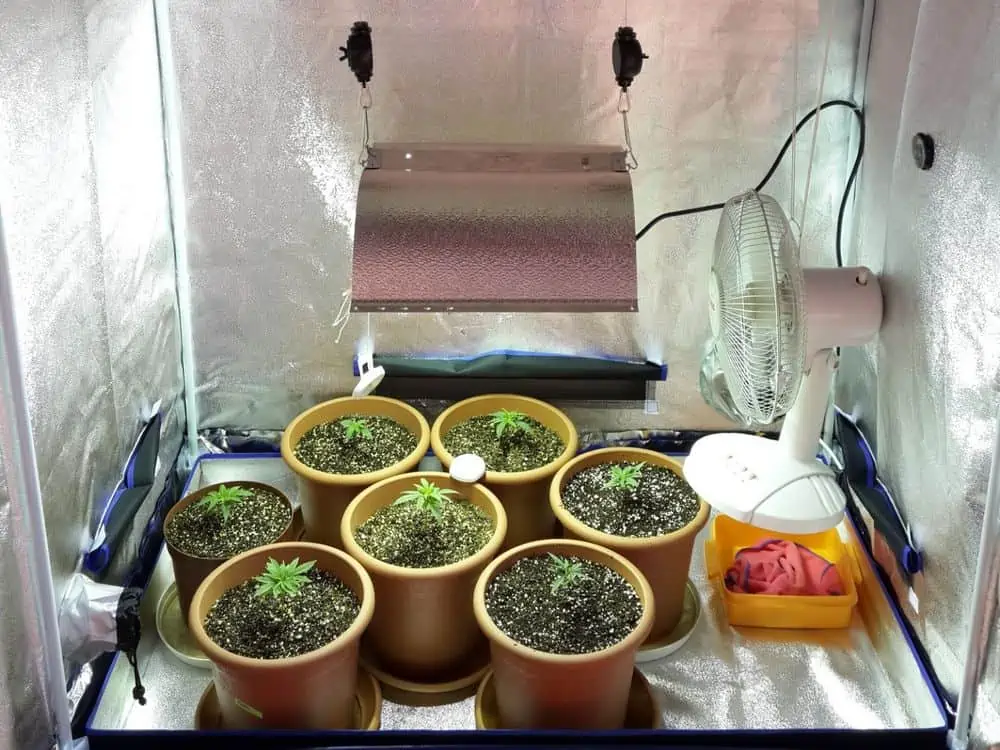
Hanging grow lights up in a grow tent is easy.
The process is easy, if you know what to do. And you will.
We are going to show you exactly how to hang grow lights in a tent below.
Getting the materials you need is easy, since most grow light manufacturers now include everything you need when you buy their lights.
But even if yours did not, the things you need are easy to find and they don’t cost much.
So let’s get on with it. Keep reading for easy step-by-step instructions that will guide you through the entire process.
Contents
- 1 How To Hang Grow Lights In Tent
- 1.1 Materials Needed
- 1.2 Notes Before Getting Started
- 1.3 Step 1: Choose Your Location
- 1.4 Step 2: Prepare The Fixture To Be Hung
- 1.5 Step 3: Attach The Rope Ratchet Or Cable To The Tent Support Poles
- 1.6 Step 4: Attach The Grow Light Assembly To The Tent Pole Ropes
- 1.7 Step 5: Adjust Your Light To The Correct Height
- 2 How To Hang Lights In Grow Tent: Final Thoughts
How To Hang Grow Lights In Tent
We will begin with a list of the materials you will need (chances are you already have most of them, apart from some type of cable management system). Then we will go over some things to keep in mind, before getting into the actual grow light hanging guide.
Materials Needed
- Grow Lights
- Hangers of Some Kind
- Fasteners
- Cable management
Grow Lights
There are multiple types of grow lights you can use for your project; some are easier to use in a tent than others.
- LED lights
- CMH lights
- Fluorescent lights
- HPS or MH lights
LED and fluorescent lights are very popular and come in a variety of sizes and weights. These two are probably the most commonly used in mid-sized to small grow tents.
CMH, MH, and HPS grow lights are members of the same family of HID (high-intensity discharge) lights and come in both small or midsized forms to massive stadium or warehouse lighting sizes.
We recommend LED grow lights for almost all applications. You can see which ones we recommend here. Fluorescent grow lights can make sense for a small vegging tent, or for seedlings. But even then, we prefer LED fluorescent tubes like these.
If you do want to go with HID lights, CMH are the only type that make sense anymore. They are just far better than the other two types. This article will help you find the right CMH grow lights.
Hangers
There are a variety of hangers that work to hang grow lights in grow tents. Some are better than others. Of course, the cost is always a factor, but even the most expensive ratchet hangers do not cost much.
- Ratchet Hangers
- Cable Hangers with Hooks or Clips
- Metal Hooks and Rope
Ratchet Hangers
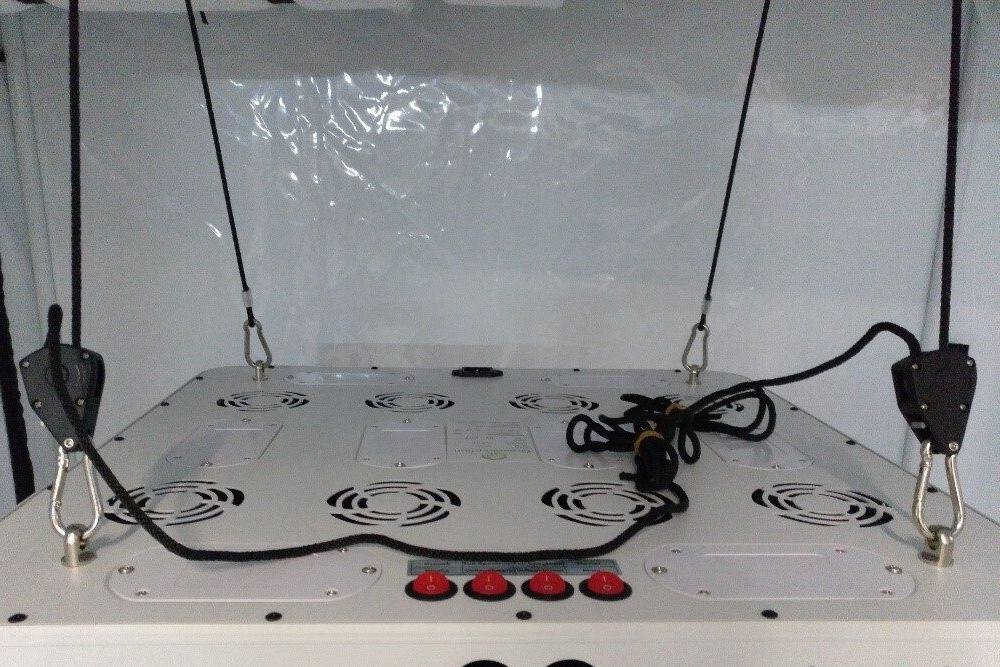
The best solution is ratchet hangers. These come in packs of 2 to 8 (or more). Their biggest advantage is that they are adjustable. As your plants grow, you will need to constantly adjust the height of your grow lights.
Using adjustable hangers makes this process so much easier, but they do cost a bit more. The difference is usually not large. Plus, most reputable LED manufacturers include free ratchet hangers with their fixtures these days.
Cable Hangers with Hooks or Clips
This solution is more old school and usually not adjustable. Ging with this option can cost a bit less when you factor in the rope and other accessories. They will do the job and never snap, but you will have to fiddle with them often to adjust the height of your grow lights above your plants.
Metal Hooks and Rope
This is a more DIY approach. You basically just use metal hooks from Home Depot (S or J hooks) and some rope. It is the cheapest hanger setup, but also the most work and hardest to adjust.
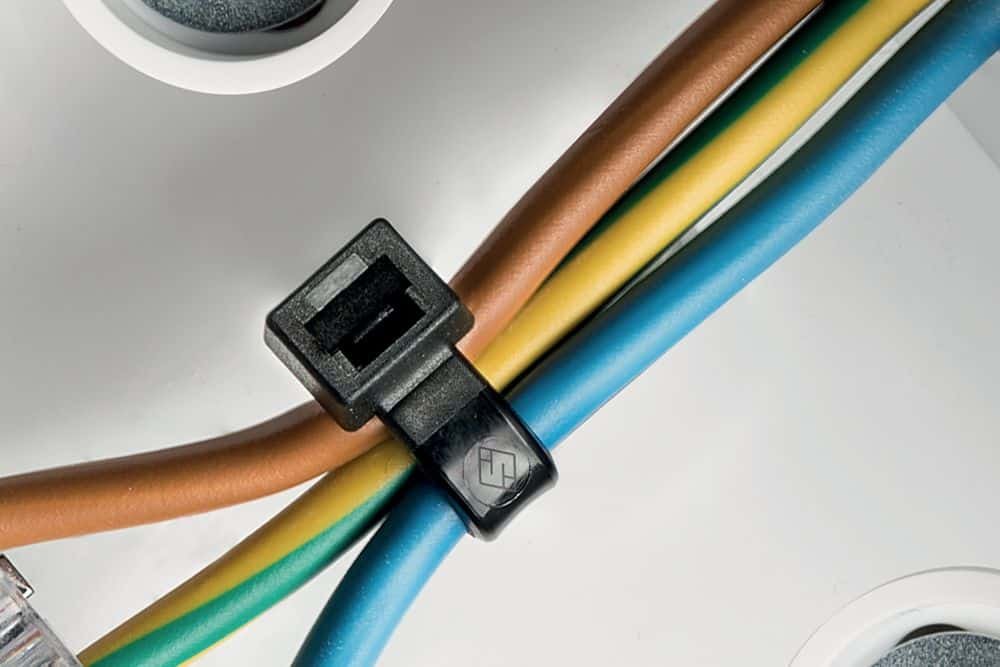
Fasteners
Some of the hangers will need fasteners. These are just a way to get the rope to attach to the light fixtures. Many light fixtures have holes on the corners you can use to attach a rope or cable to, but not all of the lights or hangers come with fasteners.
You can get the locking fasteners with spring-loaded closures at your local home improvement store for under a couple of bucks each. These usually have a place to attach a rope or cable and will lock onto the holes in your lights.
There are also the beefier and stronger clips you see mountain climbers use which will work for bigger fixtures that are heavier and have bigger holes.
The most important thing to consider is to make sure whatever connectors you get are strong enough to hold the light. If not, the light could fall and get damaged and also damage your plants. The falling grow light could injure a pet or human who may be beneath the light, too.
Cable Management
You will need something to keep your power cords and other cables out of the way. Gravity will want to let the cords sag all over the place which is annoying and dangerous. Some options are:
- Velcro cable straps
- Zip ties
- Garbage bag ties
- String
You can use the Velcro cable straps (which are my favorite), zip ties, garbage bag twisty ties, or normal string. Zip ties will do the job, but they will make you very angry when you need to cut them and try to not cut the cable they are holding down (ok, maybe that’s just me).
Garbage bag twists are a good option if you have small cables and poles. String is actually one of the best options, because it is easy to use and easy to untie. But to me, Velcro is the simplest. Naturally, it costs the most (but still not much).
Notes Before Getting Started
Here are some things to keep in mind, and to pay attention to, before you get started hanging up your grow lights.
Weight Restrictions & Safety
You need to remember that you are limited by the fact that you are using a tent. Tent frames are strong enough to support most lightweight lights, but you may not want to install those heavy metal HID fixtures. Always make sure your tent is rated to handle the lights you plan to hang in it.
The structure of your tent frame also comes into play, and may be a limiting factor, in the hanging process. You may need to get a bit creative with your placement based on where you have a sturdy pole available.
Read Manuals
Before you hang grow lights, please read your tent’s manual. Or if you purchase a light frame read the manual for it and verify the weight it can safely hold. It will be a bad day if your light setup falls on your plants and destroys both the plants and your light.
How Heavy Are Lights?
Every tent is unique and may have unique weight limits for how much weight it can support. In general, the most popular tent poles can support between 70 and 110 pounds.
Just as every tent and tent pole system is unique, every grow light is also unique. Most LED and fluorescent light fixtures can weigh between 15 and 25 pounds for a mid-size or smaller fixture.
Step 1: Choose Your Location
Assuming you already have your plants set up, locate the ceiling poles that run the length of the tent. This is the area you will be using to hang your lights.
Reach up and grab the poles and give them a few tugs to make sure they are sturdy and won’t bend or break under the weight of your light fixture. If you are in a square 4×4 tent, or other smaller size, you can also use the 4 corners to attach your rope or cable.
Step 2: Prepare The Fixture To Be Hung
How you prepare the fixture before hanging differs depending on the type of grow light you have. We will cover the three most popular types here (and the only ones you should be using, to be honest).
LED Grow Lights
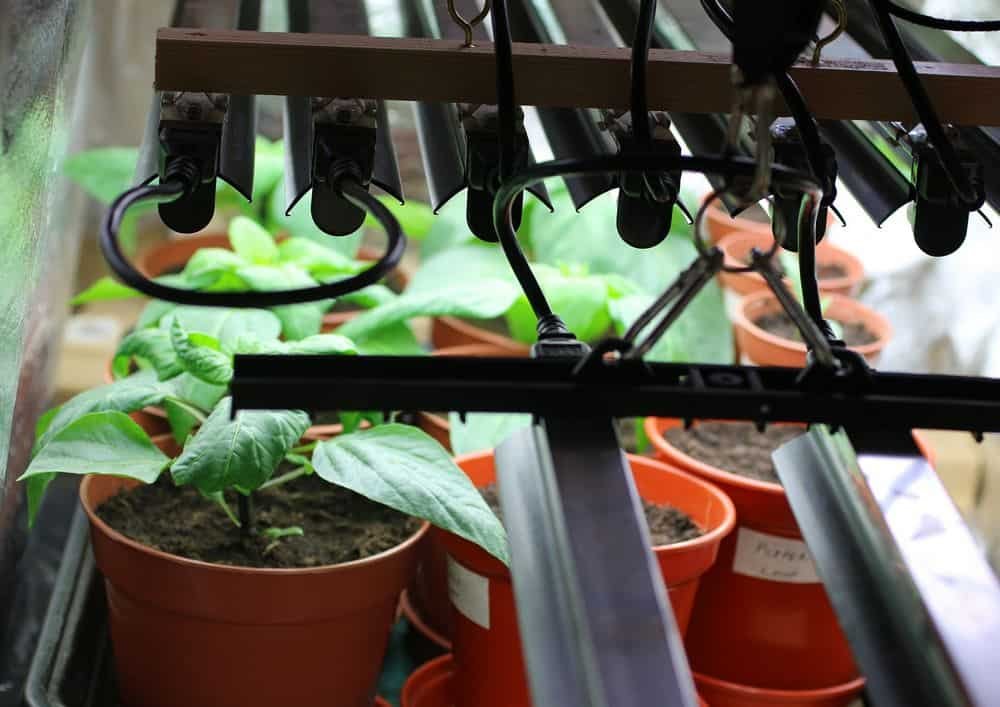
First, you need to locate the four corners of your light fixture and see the holes that are predrilled there. Use your spring-loaded clips or premade ratchet rope clips to clip onto the corners of your fixture.
Most LED fixtures are typically quite flat, so they will be easy to attach the clips to.
Place your fixture on the ground or a table, face down so you can attach rope or cable to the backside of the fixture. Hook the tip of the clip through the hole and curve it slightly as it goes through to reach the clip on the other side.
Make sure the ratchet rope clip is the part that attaches to the light, so you can easily adjust the fixture up and down once it is hanging, as needed.
Fluorescent Grow Lights

If you are using a small fluorescent tube type of light fixture, you may only have 2 holes to work with. However, many large fluorescent fixtures with multiple tubes have four holes just like LED fixtures do.
Most fluorescent fixtures will come with cables and hooks used for hanging purposes. In this case, just loop the hooks through the holes or loops on the back of the fixture. You will now have the cable attached and there will be 2 loops you can attach to in the next step.
HID Grow Lights
These can be the heaviest lights. They usually come with metal triangle-shaped clips that are designed to attach to the light and your rope or cable. If the triangle clips are not already attached to the fixture, you will need to attach them. Follow the instructions in the manual, since every fixture is a little different.
Step 3: Attach The Rope Ratchet Or Cable To The Tent Support Poles
Take the rope or rope ratchet attachment and loop it over the tent poles you are using to hang the light. Once the rope or cable is over the pole, clip the rope with your spring-loaded rope clip. Do this for both sides and make sure the rope is secure by tugging on it firmly.
Once you have confirmed the rope is securely attached to the pole, and the pole is not going to bend or break, move on to step 4.
Step 4: Attach The Grow Light Assembly To The Tent Pole Ropes
Now you should have a fixture on the ground face down, and some rope or cable attached to your tent support pole.
Take the rope from the ceiling pole and attach it to the light. You may have a triangle clip for an HID fixture, or a pair of premade V cables in the case of a fluorescent fixture, or a couple of spring-loaded clips and some rope in the case of an LED.
Attach the pulley or ratchet clip to the light assembly and make sure it is secure. Now you will need to raise the light to the correct height.
Step 5: Adjust Your Light To The Correct Height
Finally, you will need to move your light to the proper height for your situation. How high the grow light needs to hang depends on how bright and how hot your fixture is at full operating power. The idea is to have the light as close as possible to your plants without burning or overheating them.
Hand Test
There are some very nerdy things you can do like measure the temperature of your light and look up the exact ideal temperature for your strain of weed, but who has time for that?
The simplest way to know how high your light should be is by doing the hand test. Turn on your light and let it heat up for a good ten minutes.
Once your light is at full temperature, place your hand, palm down, under the light at the distance you plan your plants to be. Leave your hand there for 30 seconds or so and judge if your hand is comfortable or not. If your hand is not comfortable, your plants will not be either.
The hand test will tell you the closest your fixture can be, but looking at the light against your plants will tell you if it needs to go any higher. If you have several plants and the light is not hitting them all, you will need to raise it so the light has room to reach them all.
If your light ends up being way up near the ceiling and it still does not cover all of your plants, you will need another fixture. You have too many plants for your one light to handle.
How To Hang Lights In Grow Tent: Final Thoughts
That wasn’t so hard, was it? Hopefully you now have your grow lights hanging in your grow tent and you are ready to get started with your actual grow. Remember that you will need to continuously adjust the height of your lights as your plants grow, to keep them from burning the plants.
If you encountered any problems, or have any additional questions about our guide on how to hang grow lights in a tent (or anything else), please feel free to leave a comment below.
Leave a Reply