 Autoflowering weed strains have many advantages.
That is why we recommend them for most beginning growers.
This is especially true if you are growing indoors, where their smaller size ad faster grow cycle are big plusses.
But they have advantages outdoors as well, including one huge one.
Since the amount of light they get daily does not affect when they change from vegging to flowering, you can grow them year-round, as long as you live in a suitable climate.
This means more harvests per year. But there are some things you need to be aware of.
Keep reading to learn exactly how to grow autoflowers outdoors. We will give you a full step-by-step guide and also go through some of the main challenges you could run into.
Contents
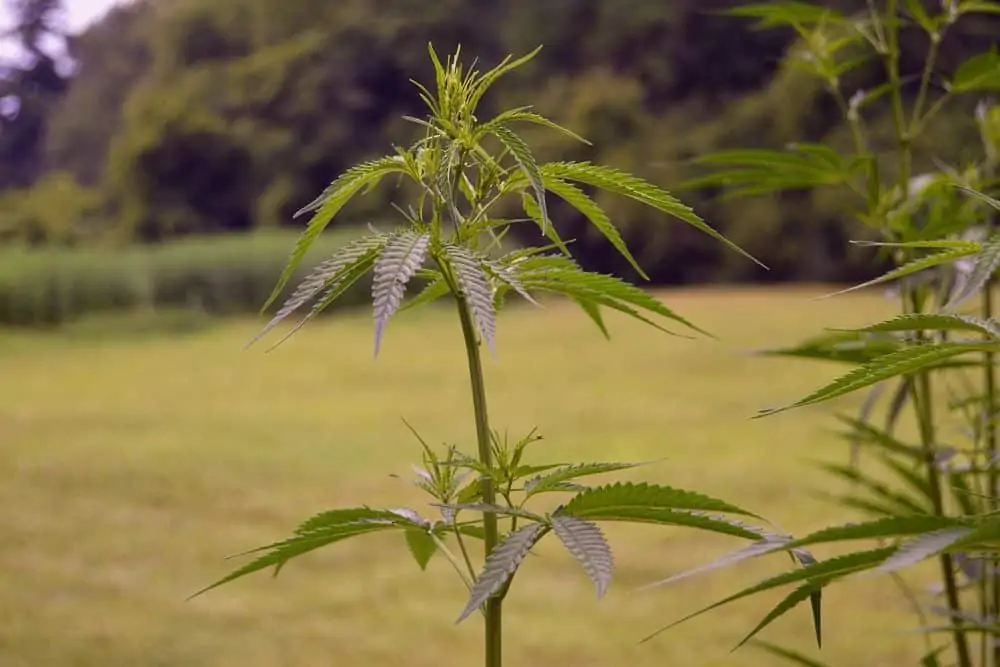
How To Grow Autoflowers Outdoors
The following steps will guide you through the process of growing autoflowering cannabis plants outdoors. We will begin with the materials you will need.
Materials Required
- Autoflowering seeds
- Good soil
- Cannabis nutrients
- Water & watering can or hose
- PHS test kit
- Pots or grow bags
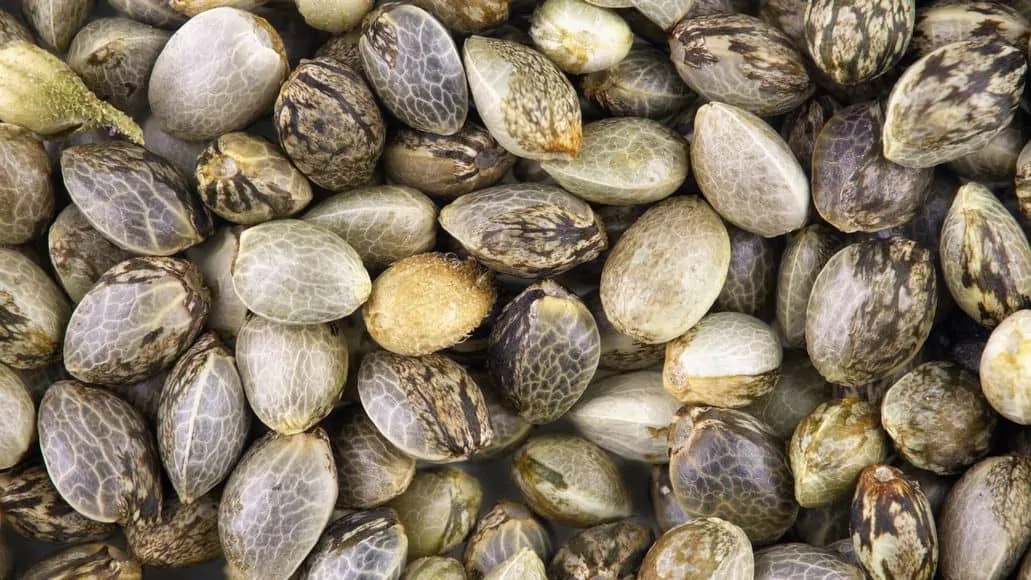
Step 1: Buy Good Autoflower Seeds
Starting with good strains of seeds is the most important factor to get high-yielding autoflowers. Some of the best strains of autoflower for outdoor growing include:
- Mimosa Cake Auto
- Bruce Banner Auto
- Purple Lemonade Auto
- Gorilla Glue Auto
You can find an excellent selection of autoflower seeds online. These are our recommend seed banks.
Check the preferred growing conditions of each one before deciding. You may be limited on selections based on where you live, due to heat, sun, and humidity levels.
If you are looking specifically for high yielding plants, we have an article detailing the highest-yielding autoflowering strains here.
Step 2: Select The Best Growing Location
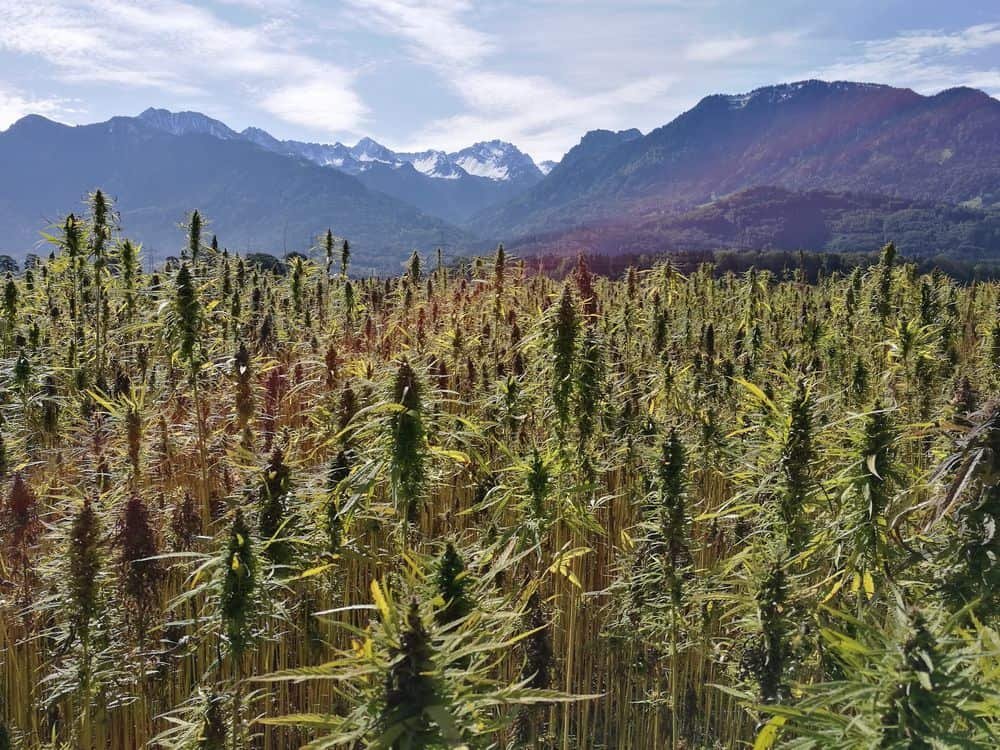
Autoflowers need at least 10 hours of direct sunlight. If you are planting directly into the ground, choose a spot that is not shaded.
Remember, 10 hours is a bare minimum. You will get the best yield from your plants with 12 to 16 hours of daily sunlight. If there isn’t an area that naturally gets sunlight for that long, you should consider planting in pots or grow bags so that you can move them.
Air or smart pots are a great choice because they allow the plants to get proper ventilation. Roots can grow down instead of out like in standard plastic or ceramic pots. You want the roots to be as strong as possible , because that will make the plant more stable and the buds denser.
Step 3: Germinate Autoflower Seeds
The shell of autoflower seeds is very hard. If you do not soften it, the cannabis seedling will not be able to break through the shell. Soak the seeds in water for at least 12 hours. Transfer them to a damp paper towel. Once taproots break through the shell, it is time to plant.
Step 4: Plant Germinated Seeds
Bury the seeds 1 inch into the soil. Cannabis plants are not easy to successfully transplant, so make sure you are seeding them in a place that gets adequate sunlight.
Because they are difficult to dig up and replant, beginners should consider planting in pots or grow bags. This way, if you run into an issue with weather, pests, or mold, you have the option to easily move the plants somewhere else.
Step 5: Water And Feed
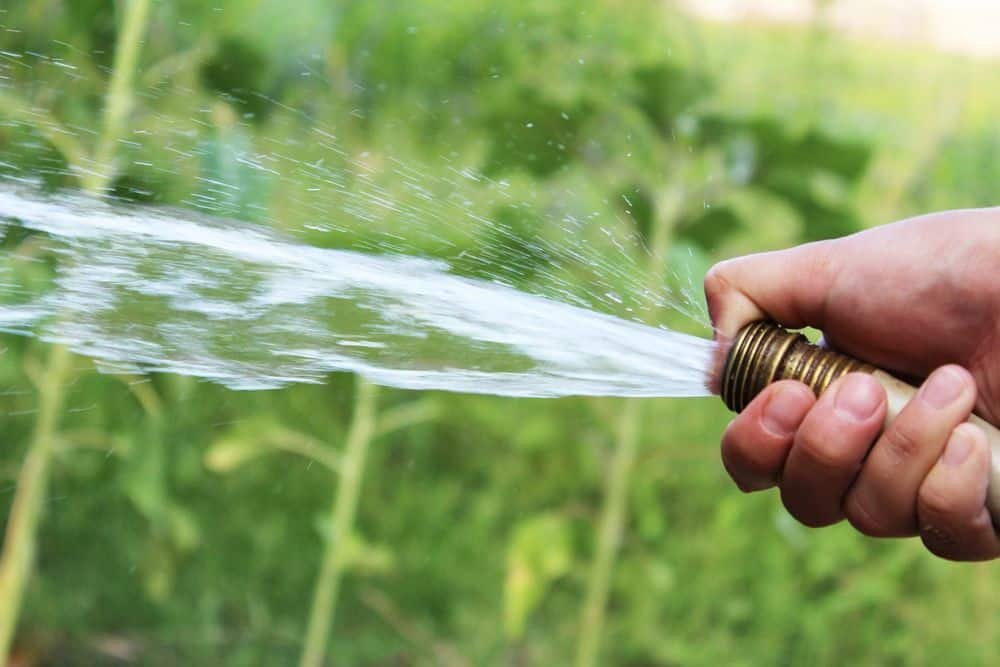
Autoflowers develop faster than photoperiods. They require more water and more food to keep up with their quick growth cycles. Water your plants daily. In extremely hot climates, water your plants outside of feeding times as well.
Do not spray water directly on leaves that get high sun exposure. This will cause sunburn. Focus on the stems and lower leaves of the plant.
Do not even think of growing autoflowering plants without nutrients. The top three nutrients cannabis plants need are nitrogen, phosphorus, and potassium.
Nitrogen is especially important in the early vegetation stages. As the plant develops, phosphorus and potassium will promote healthy growth, denser buds, and better potency and flavor.
It is important to check the PH of your water and soil often. The ideal PH range for cannabis plants is 6.0 to 7.0 when grown in soil. PH levels higher or lower than that will prevent the plants from absorbing nutrients, stunting its growth. Balanced PH levels allow the plants to grow faster and produce a higher yield.
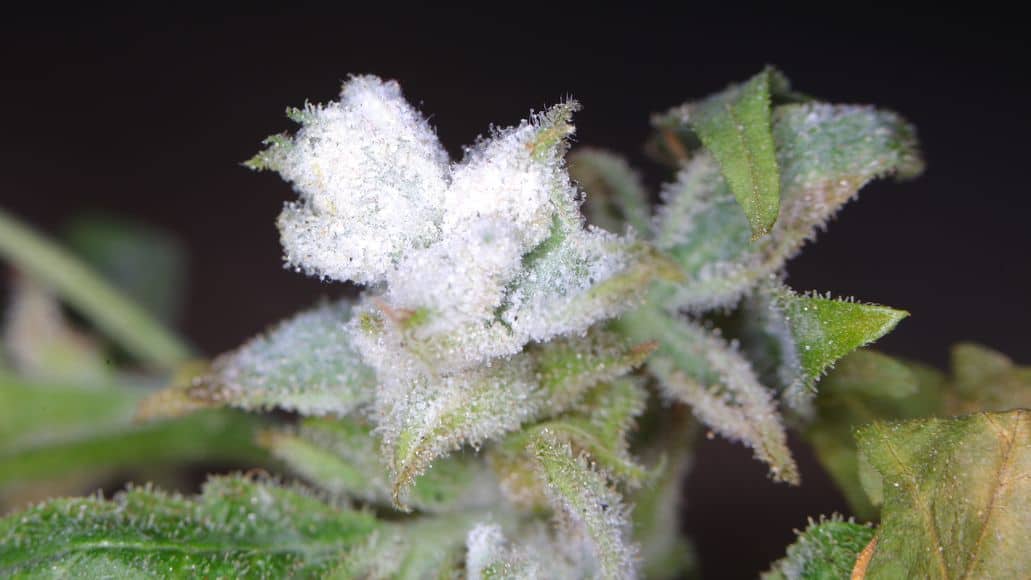
Step 6: Harvest
Check with the breeder where you bought the autoflower seeds for an estimated grow time. If you buy online, the information should be right o the product page. This will vary depending on the climate you are in. To ensure your buds are ready for harvest confirm:
- Trichomes are a murky color
- Pistils have changed color
- Buds are tight and dense
- Leaves are now yellow or purple instead of green
Our article on growing marijuana details how to know when plants are ready for harvest.
Challenges Of Growing Autoflowers Outside
Autoflower plants grow fast. Preventing issues is key, because there is less time to correct problems like infestations and mold. The growing cycle can be too short for remediation efforts. Frequently inspecting your plants for mold and bugs is important.
Mold Prevention
If you see mold on a bud, remove it immediately. If you planted in a pot or grow bag, move the affected plant to a dryer area that gets more sunlight. You do not want the mold to spread to more areas of the plant, or jump to another one of your autoflowers.
Mold will form on your cannabis plants if there is too much humidity or if you overwater in low sunlight. Sunlight is the best way to naturally dry out plants and prevent mold.
Pests
One of the best natural pest repellents for cannabis plants is ladybugs. If you don’t live somewhere where ladybugs thrive, consider using other plants and herbs to repel pests.
Smelly herbs like onions help keep away aphids. Plant these near your autoflower plants to keep out bad insects. You can also use environmentally friendly pesticides like neem oil and insecticidal soap.
Spray this on the stems of your plants once per week to prevent infestations. Do not spray directly on cannabis buds.
Animals
Fence in your autoflower plants to keep out animals like deer, rabbits, and chipmunks. You can use chicken wire or plastic netting. It is also a good idea to keep pets away from your cannabis plants.
Benefits Of Growing Autoflowers Outdoors
There are several benefits to growing autoflowers outdoors. The primary reason people choose to plant autoflower seeds is their exceptional yield potential and fast growth cycles. Autoflowers are convenient and easy to plant, especially for beginner growers.
- You will get bigger and denser buds by growing in natural sunlight.
- Autoflower plants are naturally small. This provides more flexibility in planting locations. You can grow autoflowers in pots or grow bags on your balcony, deck, or patio.
- They develop quickly. The faster growth cycles mean more harvests per season. The average yield of a single autoflower plant depends on growing conditions and ranges from 40 grams to 200 grams.
- Short growing cycles leave fewer opportunities for damage from pests or animals. It also decreases the amount of time mold can develop and spread.
- Autoflowers are made from a mix of several different cannabis strains. This makes them more resilient to outdoor elements including heat, cold, insects, and mold.
Growing Autoflowers Outdoors: Final Thoughts
Growing autoflowering marijuana strains outdoors has several advantages. The most important is probably the fact that you can harvest several times per years, as long as you live in a suitable climate.
But there are some things to beware of. If you follow the steps outlined above detailing how to grow autoflowers outdoors, you can be sure you are doing things right and should end up with a successful harvest.
Leave a Reply