 Trust me on this.
You do not want the smell of marijuana escaping from your grow room.
For one, you do not want your home to have a constant smell of growing weed. Even if you like the smell.
Second, you do not want your neighbors knowing you grow. Even if it is legal in your jurisdiction.
The fewer people who know you grow weed, the better. Always.
You don’t want neighbors talking, you don’t want police keeping an eye on you, and you don’t want thieves knowing there is weed in your house.
That means you need to know how to build a smell-proof grow room. Or you need a good grow tent with a carbon filter.
Keep reading to learn a quick and easy diy grow room odor control setup. This is not a complete article on growing weed. We have one of those here. This one only covers the construction of a smell-proof room.
How To Build A Smell-Proof Grow Room
If you’re planning to start your own cannabis growing empire in your home, it’s essential to have a smell-proof grow room. No one wants their home to be filled with a pungent odor that can attract unwanted attention or cause problems with neighbors.
With a smell-proof grow room, you can ensure that your cannabis plants are thriving without worrying about the odor escaping. In this guide, we’ll show you how to build your own smell-proof grow room, step by step.
And if you end up deciding this is all just too much work, the prices of ready-made grow tents have come down considerably. Micro grow tents cost well under $100 and even the biggest grow tents only cost a few hundred (as opposed to a few thousand, just a few years ago).
Materials Needed
To build your smell-proof grow room, you will need the following materials:
- Tape measure
- Wood or other suitable material
- Reflective material or paint
- Ventilation equipment
- Grow lights
- Tools
Make sure to choose high-quality materials that will last for a long time and effectively keep the odor inside the grow room.
Step 1: Planning And Designing
The first step in building a smell-proof grow room is to plan ahead and design the room. Consider the following factors:
- Location: Choose a location that’s private and away from neighbors, such as a basement or spare room.
- Size: Determine the size of the grow room based on the number of plants you want to grow.
- Ventilation: Plan for proper ventilation to maintain optimal temperature and humidity levels and to prevent odors from escaping.
- Lighting: Decide on the type and amount of lighting needed for your crop.
- Budget: Plan your budget for the entire project, including materials and ongoing expenses such as electricity costs.
Once you’ve considered these factors, create a detailed design for your smell-proof grow room. This plan will guide you through the building process and ensure that you have all the necessary materials and equipment before starting.
Step 2: Building The Frame
Once you have a design, it’s time to start building. The first step is to build the frame of the grow room using the wood or material of your choice.
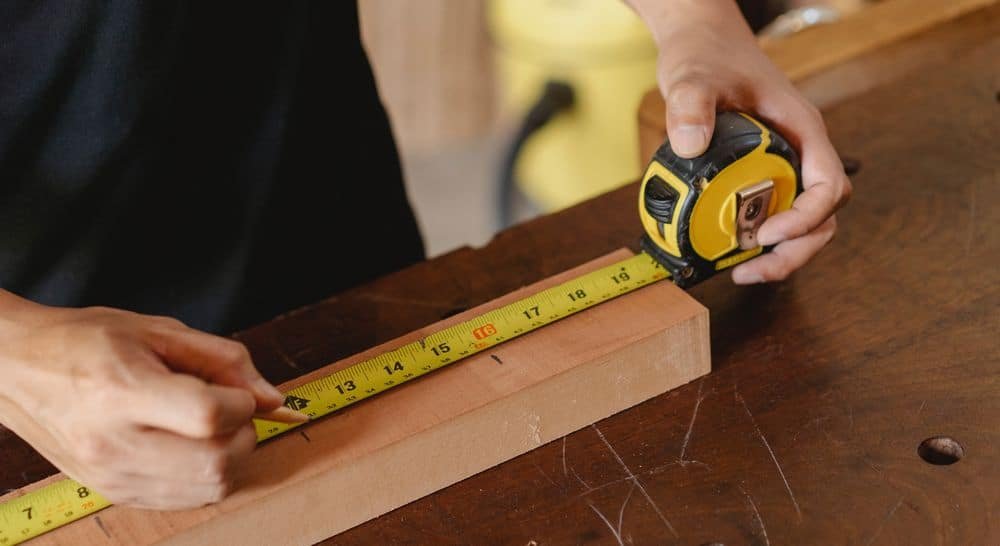
- Measure and cut the wood or material according to your design.
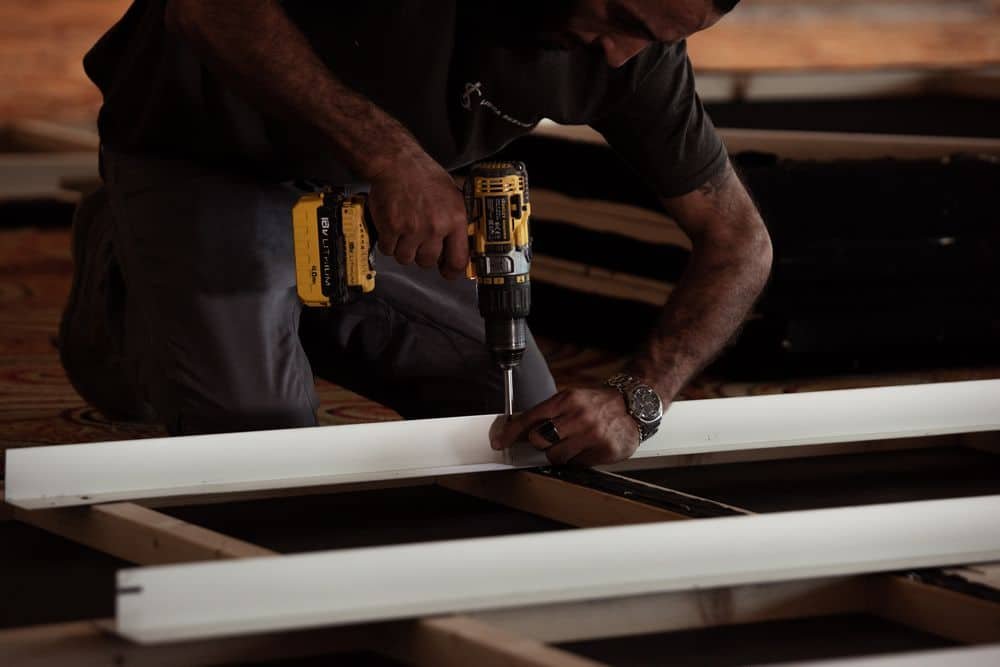
- Assemble the frame using screws and a power drill.
- Make sure the frame is sturdy and secure, as it will need to support the reflective material, ventilation equipment, and grow lights.
Take your time and ensure that the frame is built correctly to prevent any issues down the line. Once the frame is complete, you’re ready to move on to the next step of closing and smell-proofing your room.
Step 3: Closing And Smell Proofing The Grow Room
To ensure that no odors escape from the grow room, you must properly close and smell-proof it. Here are the steps to follow:
- Cover the frame with reflective material or paint, to maximize light reflection and prevent the growth of mold and mildew.
- Seal any gaps or holes with silicone caulking to prevent odors from escaping.
- Install weatherstripping around the door to ensure a tight seal.
- Use an activated carbon air filter to neutralize any odors.
Take extra care to ensure that your grow room is properly sealed and smell proofed. Any gaps or holes in the room can allow odors to escape.
Step 4: Airflow In Your Grow Room
Airflow is crucial for the health of your plants and for regulating temperature and humidity levels in your room. Here are the steps to ensure proper airflow in your smell-proof grow room:
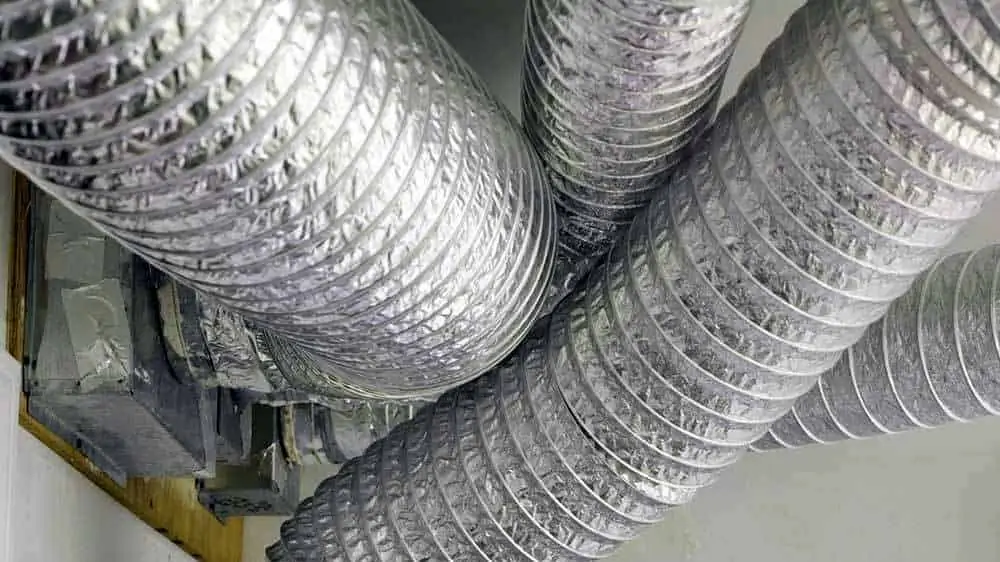
- Install an inline exhaust fan to remove stale air and control the temperature and humidity levels in your grow room.
- Install an intake fan to bring fresh air into the grow room.
- Use a carbon filter to clean the air before it is exhausted outside.
Choose appropriately sized fans and filters based on the size of your grow room and the number of plants you’re growing. Proper airflow will not only keep your plants healthy, but also help maintain the smell-proof environment of your grow room.
Step 5: Climate Control
Temperature and humidity are crucial factors that affect the growth and health of your plants. Here are the steps to regulate temperature and humidity levels in your new grow room:
- Install a thermostat to monitor the temperature in your grow room and adjust the temperature as needed.
- Use a humidifier or dehumidifier to regulate humidity levels in your grow room, depending on the needs of your plants.
- Use a hygrometer to monitor the humidity levels in your grow room and make adjustments as needed.
You need to maintain optimal temperature and humidity levels in your grow room to ensure that your plants thrive. Keep in mind that different strains of cannabis have different temperature and humidity requirements, so research the needs of your specific plants to provide the best environment for them.
Step 6: Install Lighting
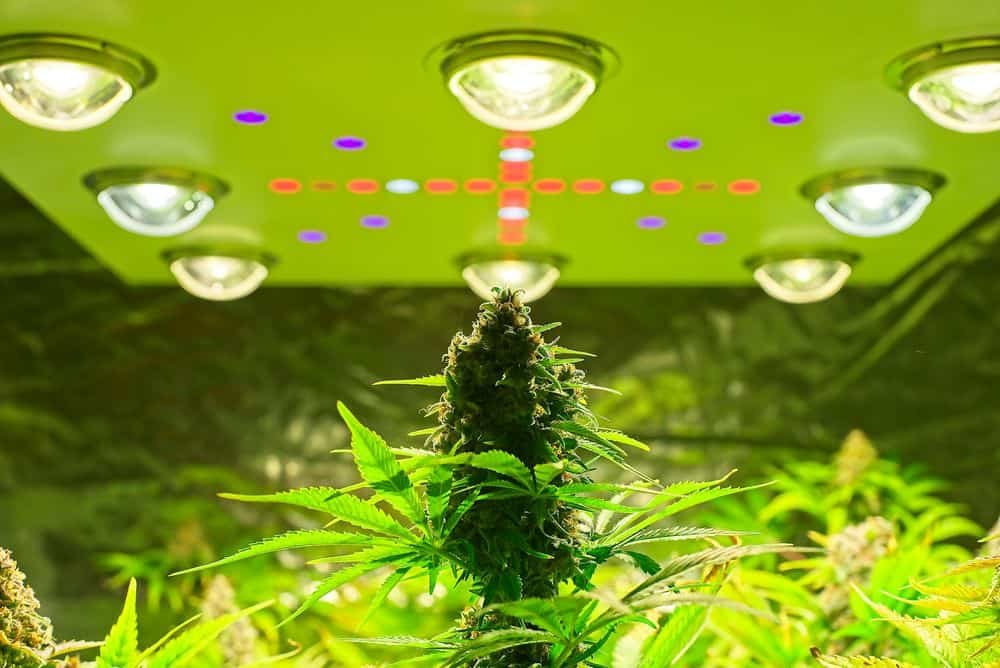
Correct lighting is another essential factor for growing healthy plants. To install lighting in your smell-proof grow room,
- Choose the type of lighting that’s appropriate for your plants, such as LED or HID grow lights (LEDs are always better these days).
- Install the lights according to your design plan, ensuring that they’re positioned at the correct height for optimal plant growth.
- Set up a timer to regulate the amount of light your plants receive and provide them with a consistent light cycle.
Additionally, make sure that your lights are installed correctly and safely to avoid any potential fire hazards. Are LED grow lights a fire hazard, too, or only other types of grow lights? Yes, even LED lights can get hot enough to start a fire.
Step 7: Clean Up And Start Growing
Now that the build and set-up of your smell-proof grow room is complete, it’s time to clean up and start the fun stuff: the growing:
- Clean your grow room thoroughly to remove any debris or dust that may have accumulated during the construction process.
- Set up your plants and start growing according to your preferred method.
- Monitor your plants regularly and make any necessary adjustments to the temperature, humidity, and lighting levels to ensure their health and growth.
Remember to keep your grow room clean and well-maintained throughout the growing process to prevent any issues that may affect the health of your plants. This includes the lights and other equipment. Learn how to clean grow lights here. Happy growing!
DIY Grow Room Odor Control: Final Thoughts
With the right materials and planning, you can create a secure and controlled environment for your plants to grow and thrive, without any unpleasant odors escaping.
By following the steps outlined in this guide, you can ensure that your plants receive the proper amount of light, temperature, humidity, and airflow they need to flourish discreetly. Happy growing, and enjoy the sweet fruits of your labor!
Leave a Reply