 It’s time!
You’re finally harvesting your cannabis. And much sooner than most, because you’re growing autoflowers.
But harvest time does not mean your grow is over. There is still work to do.
You can’t smoke fresh, wet buds, after all.
You still need to dry them. And cure them, which is a step many growers overlook altogether.
Then they wonder why their weed tastes harsh.
Keep reading to learn exactly how to dry and cure autoflowers, to ensure your weed crop tastes great and smokes smooth. We’ll also cover a small in-between step that greatly improves the buds but that most growers skip.
Contents
How To Dry And Cure Autoflowers
We will go in order here, meaning we will start with how to dry autoflower weed. After that we will cover manicuring and then how to cure autoflowering cannabis.
How To Dry Autoflower
There are several good methods for drying autoflower marijuana. Read through them and choose the one that makes the most sense for you. For most, that is probably going to be hanging, which is the first method we will cover.
Method 1: Hanging
Hanging is the easiest way to dry autoflowers. It greatly speeds up drying time, but you must ensure proper air circulation. This will remove moisture and prevent mold on the still-damp harvest.
Materials Needed
- Cardboard boxes
- Coat hangers
Steps
- You simply hang your harvest where there is air circulation. Use fans to move the air.
- The temperature should be between 60° and 80° F (15° to 27° deg C) and the relative humidity, should be 50%.
- Keep the area dark. If not, ensure there is no direct light.
- You can hang your harvest in a cardboard box or an open drawer or closet. Clipping to coat hangers works best, because it makes it easy to move the entire harvest.
Method 2: Using A Food Dehydrator
This method is great for drying autoflowers quickly but it is important not to use the dehydrator’s heat setting. You need a food dehydrator with a control switch. If not, don’t use this method, because it will cook your harvest and it won’t be any good.
Some people even remove their dehydrator’s heating element and then basically use the unit to semi-dry their herbs and follow it up with classic curing methods. Note that this method does result in some loss of cannabinoids, but it is minor.
Materials Needed
- Food Dehydrator with a control switch or without the heating element
Steps
- Place the buds on individual racks of the dehydrator.
- Slow dry the harvest to 65 to 70% relative humidity.
- Follow this with jar cure or other classic curing methods (see below).
Method 3: Using Brown Paper Bags
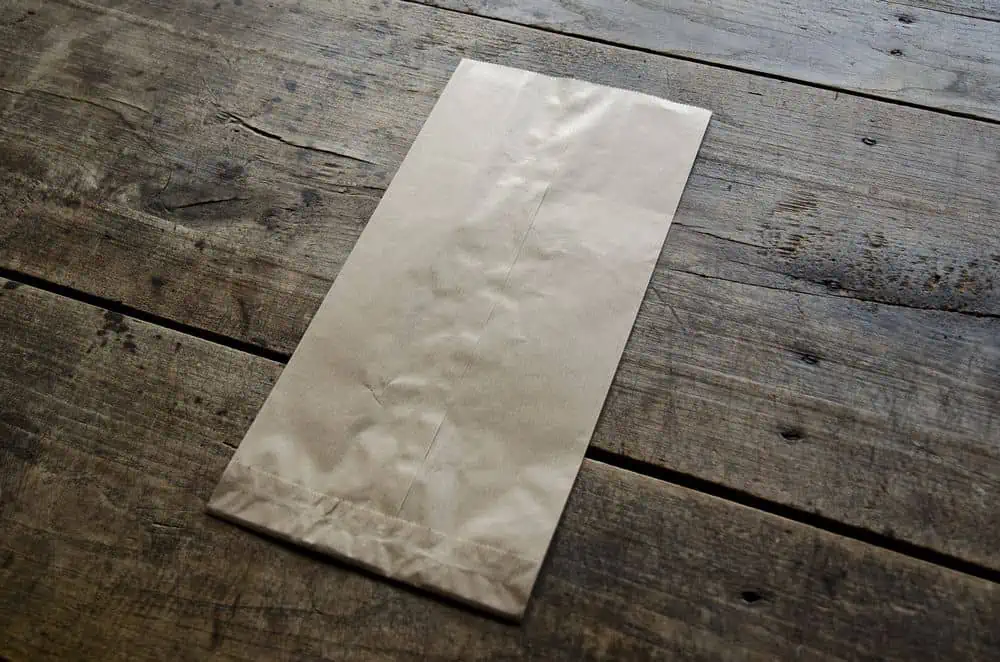
This is the ideal way to dry autoflowers in humid conditions. It is a great method for beginners and advanced growers. When done right (and depending on the air circulation to the outside of the bags and the amount of moisture in the flowers), this method can help you finish the drying process in a week.
Materials Needed
- Any paper bag without a waxy coating
- Binder clips
- Newspapers
Steps
- Place the flowers at the bottom of the bag.
- Make sure the flowers are not touching each other. If they touch each other, the risk of mold increases considerably.
- Do not overfill the bag. Put only a single layer at the bottom.
- Close the bag by rolling the top down a few inches.
- Ensure there is plenty of air in the bag. The brown paper bag will absorb all the moisture of the flowers.
- Use a binder clip to close the bag.
- Place the brown paper bags on the newspapers; this will further absorb the remaining moisture. You can also hang the brown paper bags, if you can, or if you don’t have newspapers!
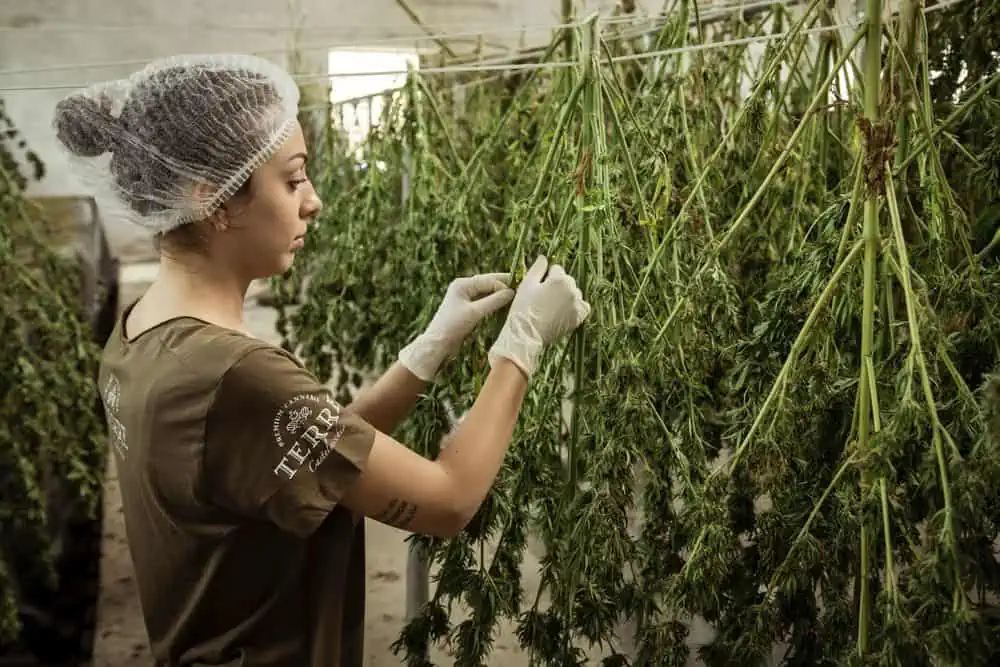
Manicure The Harvest
After drying, you need to further clean the harvest.
Materials Needed
- Gloves
- Special soap to wash hands to remove residue
Steps
- Carefully remove the remaining leaves, branches, and stems.
- Leave the tiny bract leaves and sugar leaves below the flowers.
- Your plants’ flowers will be sticky, so do wear gloves to protect your hands.
- There will be a distinct odor when you perform this task.
- Use special soap to wash away the residue from your hands.
How To Cure Autoflowers
You can certainly enjoy your cannabis after drying. But it’s better to wait. There is one more step we recommend after drying before you can smoke the cannabis. That step is curing.
If you smoke your flower without curing it first, it may not smoke at all, because it may still be too moist. And even if it does smoke, it will taste like chlorophyll, which means a flavor that is grassy, like hay.
With curing, you further degrade the remaining chlorophyll from the cannabis. This yields better-tasting cannabis, especially when compared to commercial cannabis. Many commercial retailers don’t bother taking the time to cure their harvests properly.
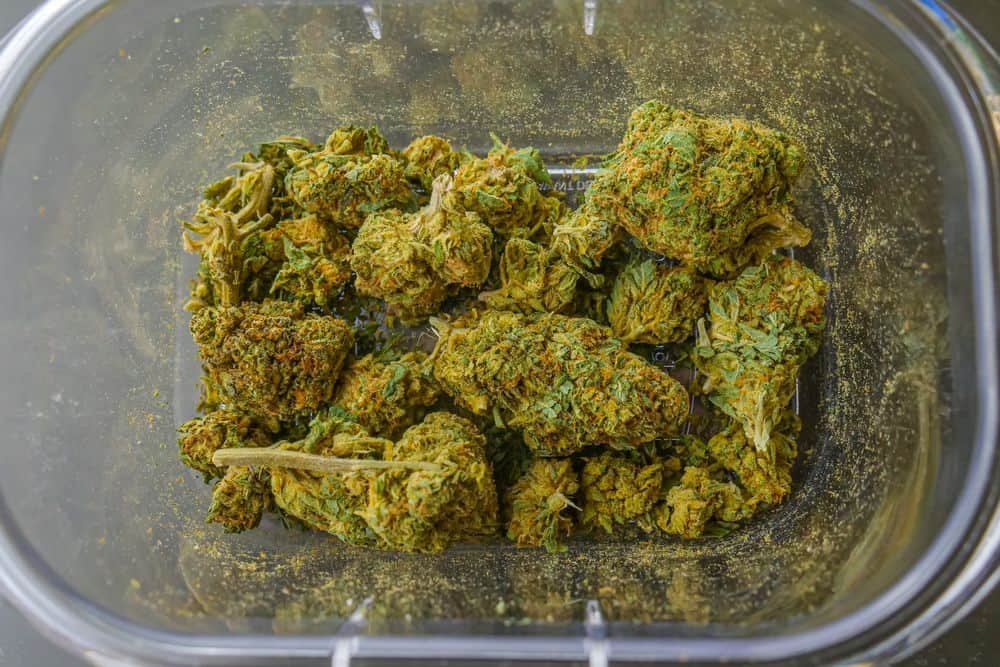
If you plan to cure, then the buds should not be completely dry. If you dry the buds completely and then cure them, it could result in harsh smoke. Aim to remove a large amount of moisture with drying, but leave a little bit of moisture in the buds for the curing.
To know if your buds are ready for curing, squeeze them slightly. If they feel too moist, they may need some more drying before curing.
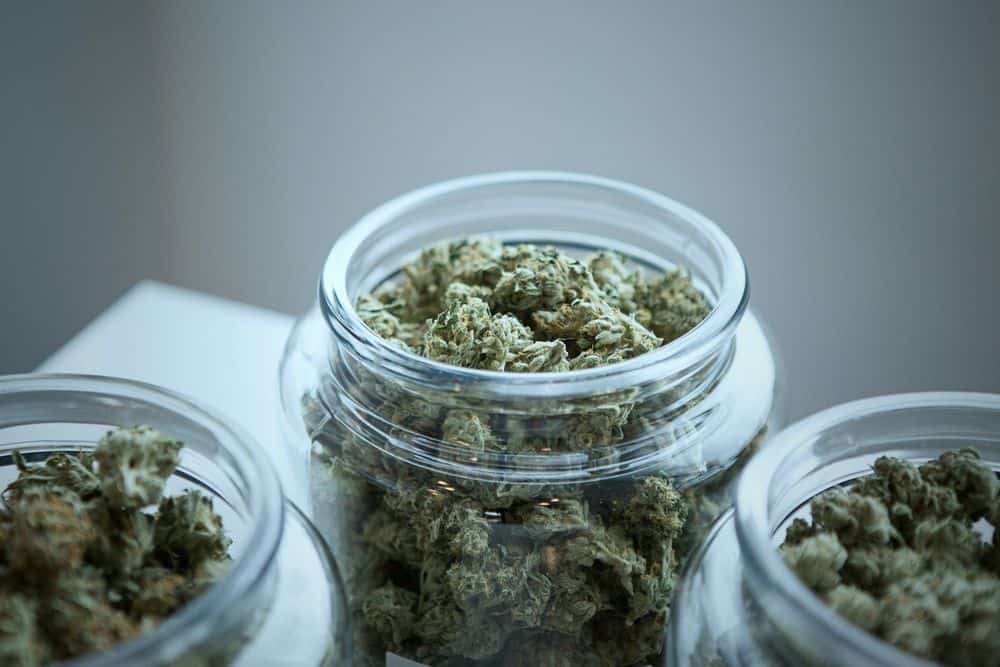
Materials Needed
- Sealable glass jars
Steps
- Place the marijuana flowers in the jars.
- Do not pack them in any way, because that will smash your harvest. Instead put them loosely into the jar until it is full and then seal the jar.
- When you shake the jars, you should be able to see the bud move around.
- Close and seal the jars and place them out of sunlight in a cool location. The optimal temperature for curing is 70° F, or 21° C.
- You need to burp the jars for 2 weeks. This will remove the gas buildup.
- Open the jars 3 to 4 times each day to burp them. Allow the gas buildup to escape. Close and shake the jars gently.
- After a week of daily burping, most of the chlorophyll will dissipate.
- You can skip a day or two, but do check the jars regularly.
- After 2 weeks, open the jars every few days.
- One indication that your harvest is fully cured is that it won’t produce any more gas when you open the jars.
As you can see, the process of curing could take 4 to 8 weeks. This is truly worth the effort, because it will yield the best-tasting cannabis.
Drying And Curing Autoflowers: Related Questions
Below, we will answer some common questions relating to the drying and curing of autoflowering marijuana. If you have any further questions, please feel free to ask them in the comments below.
How Long Do You Cure Autoflowers?
The optimum time for curing autoflower weed is 4 to 8 weeks. Some growers do it in 2 to 3 weeks, but a longer curing time results in the best-tasting cannabis without the chlorophyll taste.
Do Buds Smell When Drying?
Buds can give off an odor while drying. Use fans and proper ventilation to circulate the air. You also need charcoal filters that can remove the odors. Some people use laundry dryer sheets on the exit vents to sweeten the air.
It can happen that your buds do not have an odor when drying, because they lost their odor prior to the harvest. That is a problem, since the odor says a lot about the quality of the buds.
Can Buds Dry In 2 To 3 Days?
The cannabis drying process can last anywhere from a few days to 3 weeks, although 5 to 10 days is optimal. Factors that affect the drying time include bud size, crop weight, crop moisture content, relative humidity, and ambient temperature.
Dry And Cure Autoflower: Final Thoughts
Drying and curing autoflowers is a straightforward process, but it does take time. If you want the highest quality buds, don’t rush the process.
I know it is tempting to cut curing and drying a bit short. You’ve waited so long to finally get to the point where you can harvest your homegrown marijuana flowers. Learning that you have to wait many more weeks before you can enjoy them (or sell them) is a hard pill to swallow.
That is why many cut the drying and curing process short, or skip one or both altogether. That is fine, but it will result in much harsher buds.
The choice is yours, but I feel a few more weeks of waiting is worth it. You’ve waited so long already. Don’t you want to enjoy the highest bud quality you possibly can?
Eric says
Enjoyed your thoughts I in my 60’s thought they were great never heard of cure in jars I had a book from high times magazine about .Well long time ago since had just came out I had grown in the ground and very big plants the biggest trouble was the time your plants were at max flower the rabbits would want to eat them and they would so you end up sharing so enjoying your info .