 You can’t avoid it.
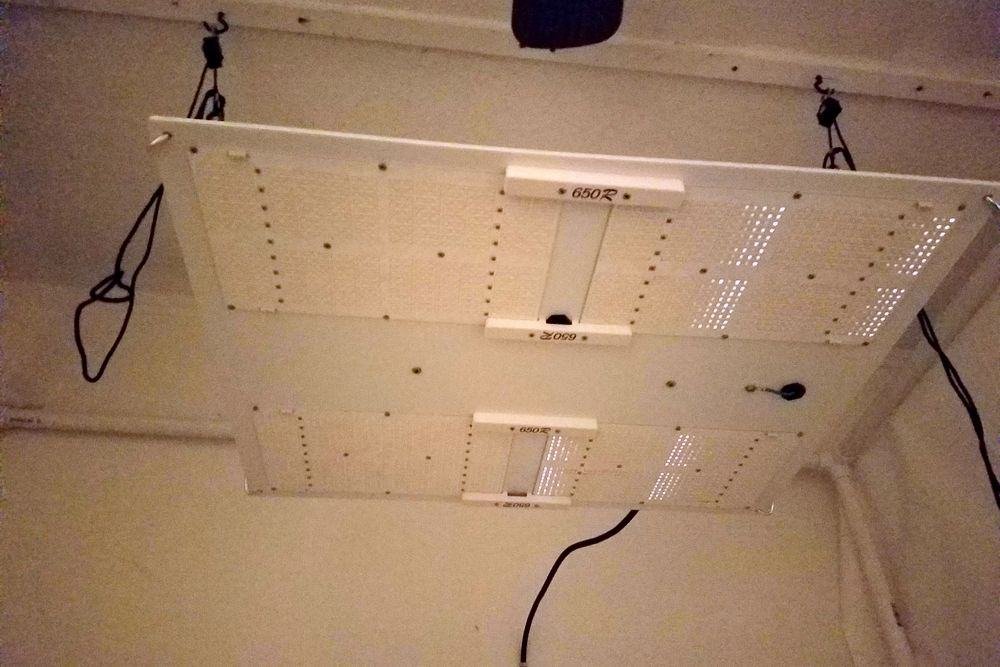
Your grow lights will get dirty, just like anything else.
And the dirt can affect their performance.
Dirt on the lenses or light covers can reduce the output.
And dust on the fixtures or clogging the fans can present a fire hazard.
It is important you know how to clean LED grow lights and that you clean yours regularly.
And that is exactly what we are going to help you with today. Keep reading for a step-by-step guide showing you exactly how to clean your grow lights.
How To Clean LED Grow Lights
Follow the steps below for the best way to clean LED grow lights. You can use the same steps to clean other types of lighting as well, like fluorescent grow lights or HID grow lights.
Step 1: Gather Materials

Before you start the actual cleaning process, take a few minutes to check and make sure you have everything you need. You’ll just need a few basic cleaning materials, many of which you may already have lying around the house.
- Microfiber cloth: This soft and non-abrasive cloth is ideal for dusting off the surface of your grow lights without scratching them.
- Soft brush: You can use a gentle brush to remove stubborn debris that doesn’t come off with a cloth.
- Compressed air: You can use this to blow away dust and particles from hard-to-reach areas of your grow lights. You can find this in small cans with a straw to attach to the nozzle that enables you to direct the air.
- Mild detergent: You can use a mild detergent solution to clean the surface of your grow lights. Ensure that the detergent is non-abrasive and non-corrosive to avoid damaging the lights.
Step 2: Remove Dust And Debris
Once you have everything you need assembled, it’s time to get down to it. First off, take a few minutes to ensure everything is turned off and disconnected from the electricity supply. Safety should always come first!
After making sure everything is disconnected, you can grab your soft, microfiber cloth and give the exterior surfaces a good dusting down.
Gently dust off the surface of your grow lights, making sure to cover all areas, including the housing and reflectors. The soft cloth will help remove loose dust and particles, but you may need your soft brush to remove more stubborn dirt.
You can also use your can of compressed air for removing dust from tight corners and hard-to-reach places, but remember to be careful not to scratch or damage any delicate parts or connections.
Step 3: Clean The Surface
After removing the dry dust and debris from your grow lights, it’s time to clean the surface with some detergent to ensure a thorough and effective cleaning. Dampen your microfiber cloth and add a small amount of detergent.
Gently wipe the surface of your grow lights, including the housing and reflectors, being careful not to damage anything. Make sure your cloth is not overly wet. It should be just slightly damp, since you don’t want any excess water finding its way into places it shouldn’t.
Pay a little extra attention to areas with built-up grime or residue, and maybe apply a little pressure as you clean. But be careful of the more delicate areas. Once your surfaces are nice and clean, wipe them dry with a different cloth.
Step 4: Cleaning Light Covers Or Lenses
Next up, you should pay extra attention to the light covers or lenses of your grow lights, because any dirt or build-up here will reduce the amount of light reaching your plants.
Begin by carefully removing the light covers or lenses from your grow lights, according to any instructions given in the manufacturer’s guidelines. Once the covers are removed, inspect them for any visible dirt, dust, or smudges.
If there is only light dust or debris, you can use a microfiber cloth to gently wipe the surface of the covers or lenses. You can dampen the cloth and use a detergent or cleaner for more stubborn stains.
After cleaning, rinse the covers or lenses with clean water to remove any detergent or cleaner residue, and pat them dry with a soft cloth.
Step 5: Cleaning Electrical Components
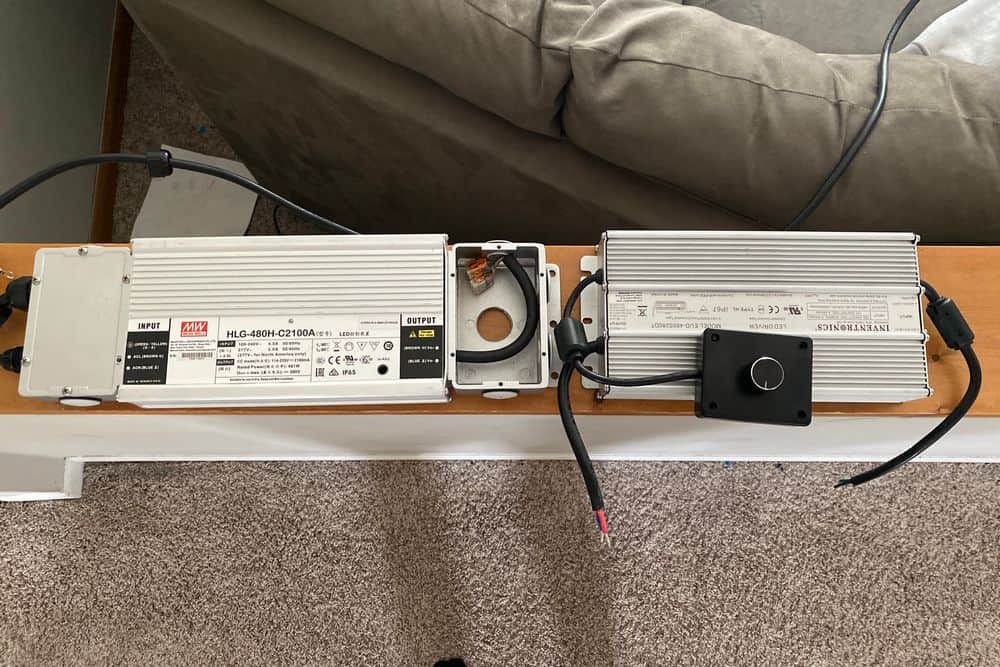
Before you start messing around with the electrical components, double-check that everything is disconnected from the power source!
After ensuring your personal safety, inspect the electrical components for any visible dust, dirt, or debris that you can remove with a dry cloth. Gently wipe away any dust or debris that may have accumulated, being cautious not to damage any delicate parts.
If there are any stubborn stains or residues in small spaces, you can use a cotton bud dipped in a gentle cleaner or isopropyl alcohol. Carefully clean the affected areas, ensuring that the cleaner does not come into contact with any electrical connections.
After cleaning, give the electrical components sufficient time to dry completely before reconnecting to the power supply! If you are unsure about any specific electrical parts, it’s always a good idea to consult a professional or the manufacturer’s guidelines.
Step 6: Reassembling And Testing
After careful reassembly and before plugging your grow lights back into the power source, take a moment to double-check that everything looks correct and you have no ‘spare’ parts left over.
Then plug your grow lights back into the power source and turn them on. Ensure that all the lights are functioning as expected and there are no flickering or dim areas.
Take a few moments to inspect the overall performance and brightness of your grow lights. If you notice any inconsistencies or abnormalities, it may indicate a need for further maintenance or that you have missed something in the reassembly stage.
Keep an eye on your grow lights for a while after turning them back on, to ensure that they function properly. Make sure there are no signs of overheating, unusual noises, or other issues that may require attention.
Step 7: Regular Maintenance And Cleaning Schedule
To ensure the longevity and optimal performance of your grow lights from here on out, it’s a good idea to develop a regular maintenance and cleaning schedule. And then stick to it!

There is a reason cleaning is a step in our guide on how to use grow lights for indoor plants.
Generally speaking, it’s a good idea to clean your grow lights every 2-4 weeks to prevent excessive build-ups of light-blocking dirt. Consider designing a cleaning schedule that incorporates a monthly deep-clean, with regular dusting of the exterior surfaces in between.
Keeping your grow lights clean will ensure your plants are receiving as much light as they need and that they will grow strong and healthy and you get the results you were hoping for. It can also help reduce the fire hazard grow lights can present.
How To Clean Grow Lights: Final Thoughts
The step by step guide above shows you exactly how to clean LED grow lights. Of course, you can use the exact same guide for other types of grow lights, too.
The keys to cleaning your grow lights are to first make sure everything is unplugged, to be careful not to damage anything (this includes not using too much water), and to make sure you put everything back together correctly, if you ended up taking your lights apart to get them completely clean.
Leave a Reply