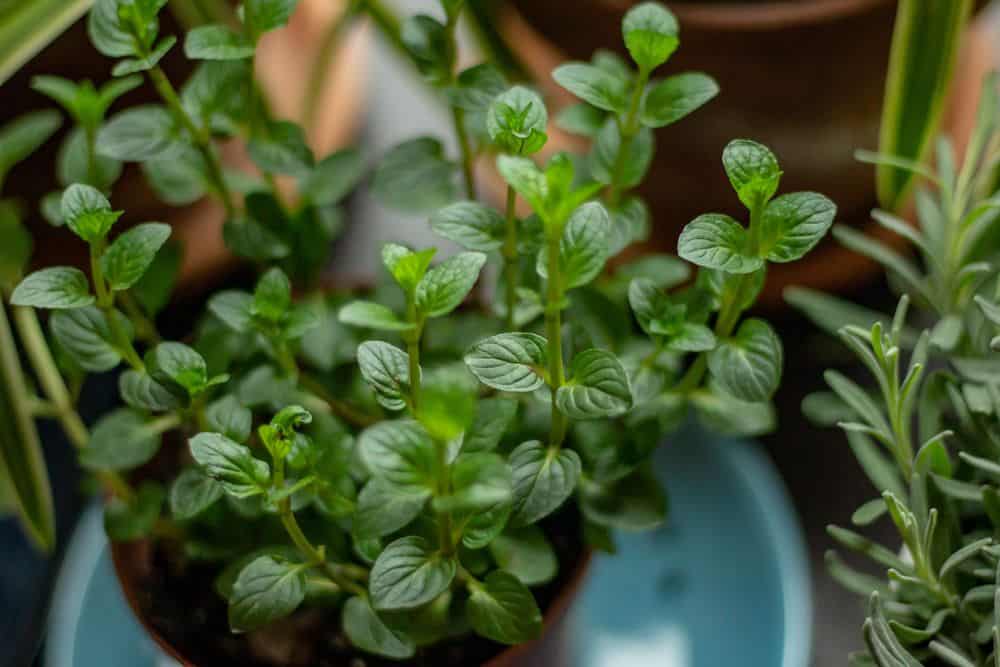
 I love having a little herb garden in my home.
It provides my with fresh herbs and I know they do not have any pesticides on them.
Plus it’s just fun to watch my plants grow!
But there is a problem.
For half the year, my plants just don’t get enough natural light. And in my prefered area of the home, they wouldn’t get enough light year-round.
The solution? Growing herbs indoors with artificial light. It’s far easier than you might think!
Keep reading for a step-by-step guide on getting your own little herb garden set up using grow lights instead of natural lights.
Contents
How To Grow Herbs Indoors With Grow Lights
Before we get into the actual steps to set up you indoor herb garden, here is a brief list of things you will need. I’m sure you’re already aware of all of these things, but I wanted to make a quick list just in case.
Materials Needed
- Artificial grow lights
- Plant containers with drainage holes
- High-quality potting mix
- Herb seeds or seedlings
- Watering can or spray bottle
- Timer for lights
- Small fan for air circulation
- Optional: fertilizer suitable for herbs
Step 1: Choose The Right Location

When choosing the right location to set up your grow lights, it’s important to pay attention to few factors, including the ability to connect to the power supply.
Given that the grow lights will provide the necessary light for your plants, you should focus on selecting a location that allows for convenient connection to the power supply and easy access for maintenance tasks.
Also, consider the temperature and humidity within your grow space. These factors play a crucial role in creating an optimal growing environment. To ensure your grow space has enough airflow and doesn’t get too hot for your plants, you will probably also need to set up a fan system.
Step 2: Set Up The Grow Lights
When setting up your grow lights, it’s important to understand the light requirements of the different herbs you plan to grow. Some herbs may need more light than others, so take the time to research the specific needs of each plant.
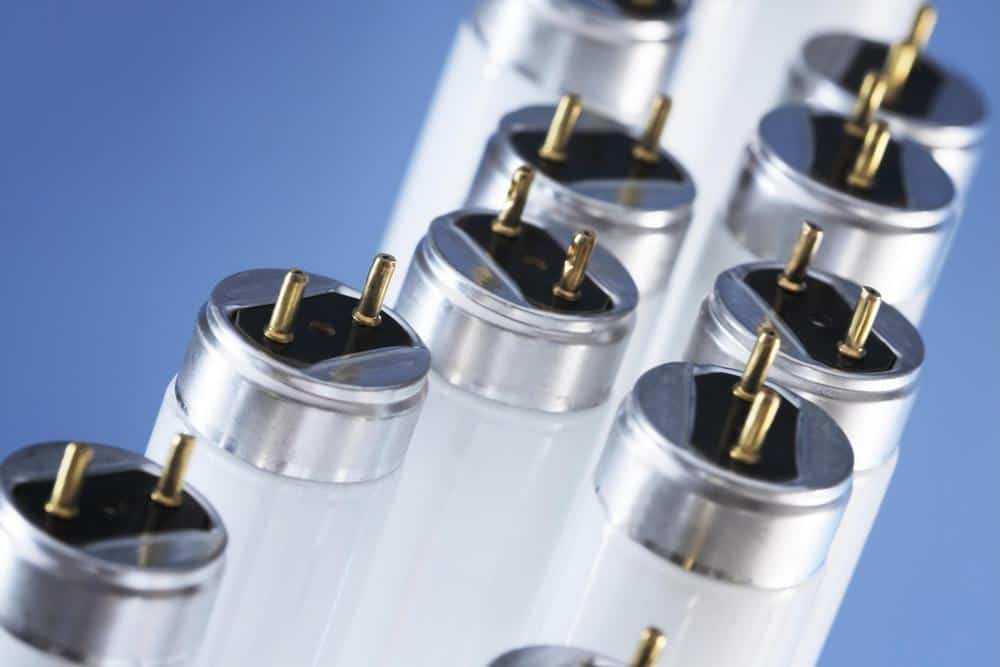
In general, herbs do not require as much light as flowering plants. They also do better in light that is on the cooler side. White LED grow lights, T5 LED lights, or fluorescent lights all work well for herb gardens.
Additionally, carefully plan the placement and height of the lights to ensure that all your herbs receive enough light to grow healthily. Using timers can also be beneficial for maintaining consistent light schedules for your herbs, especially if they prefer specific light durations.
Taking the time to research and setup your lights grow light at the right height will ensure that your plants receive the right amount of light every day, supporting their healthy development.
Step 3: Prepare The Plant Containers
When it comes to containers for your herbs, it’s important to select the right size and type to accommodate the specific needs of your herbs. Depending on the herbs you grow, you may need to start them off in seedling trays first, before transferring them to larger pots as they grow.
Do your research, then make sure you have enough pots of the correct sizes for your planned crop of herbs. When selecting your growing containers, ensure that they have proper drainage to prevent waterlogging, because this could lead to root rot in cannabis plants.
Also choose a well-draining potting mix that is suited to your herbs’ requirements and fill the containers appropriately. Pay attention to the different needs of the different plants you intend to grow. Some may prefer different types of growing medium to flourish.
Step 4: Plant The Herbs
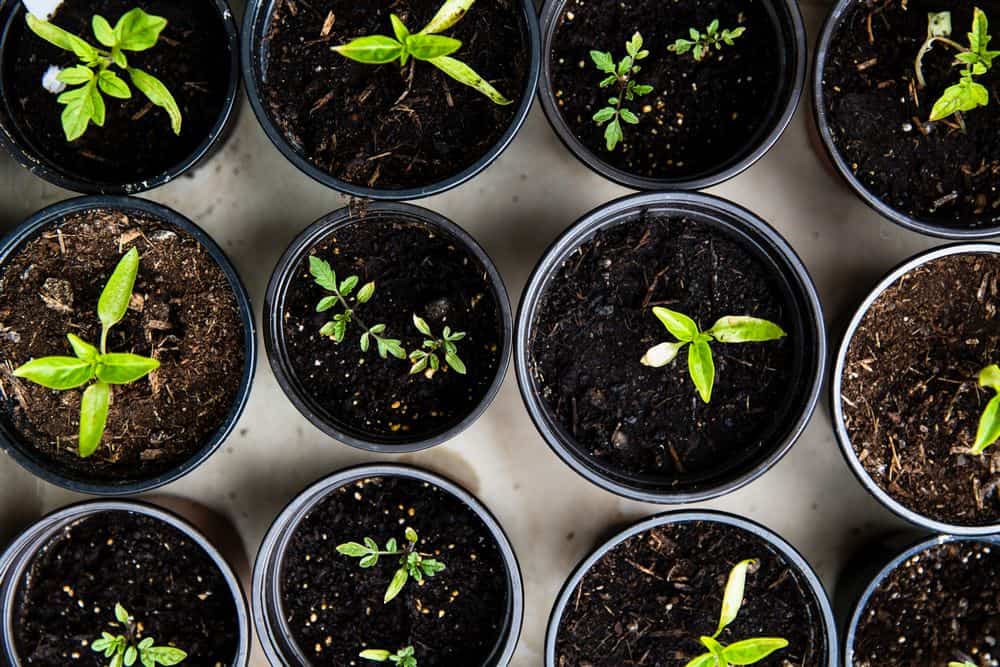
The planting process will be slightly different, depending on whether you are growing your herbs from seeds or from seedlings. If sowing seeds, make sure to follow the recommended planting depth and spacing for each herb, so they have enough space to grow.
If you will be transplanting seedlings, gently loosen the root balls before placing them in their prepared containers.
After planting, water the herbs thoroughly and provide initial care by monitoring the soil moisture and ensuring adequate light each day. This initial phase of care sets the foundation for your herbs’ growth, helping them establish strong roots and get off to a good start in life.
Step 5: Maintenance And Care
As your herbs continue to grow, you will need to keep an eye on them and ensure they remain healthy throughout the growing process.
Monitor the moisture level in the soil and adjust your watering schedule to suit the specific needs of each herb. As they grow bigger, their demand for water will also increase, and you should adjust your schedule accordingly.
Also make it a habit to regularly inspect your plants for signs of pests and diseases. Address any issues promptly to prevent their spread. When checking for pests, like aphids, be sure to look at the underside of the leaves, too.
It’s also a good idea to research your herbs’ nutritional needs as they grow. You may need to provide extra nutrients via fertilizers to ensure healthy growth.
Be aware that different herbs may have different nutritional needs. And these may change as your herbs grow and move between different stages of growth.
Finally, bear in mind that you may need to adjust the height of your grow lights as your plants get bigger and taller. If you allow the tops of your herbs to grow too close to your grow lights, they may get too much light which can lead to light burn.
Keep an eye on how tall your herbs are getting and pay attention to any discoloration of the topmost leaves.
Step 6: Troubleshooting Problems
In addition to keeping an eye out for signs of light burn, you should also be prepared for other issues to arise, and to deal with them when they do.
It is a good idea to read up on the specific herbs you intend to grow, and to find out what potential problems could occur at various stages of their growth cycle
If your herbs are stretching out too much and becoming ‘leggy,’ it could be a sign they are not getting enough light. When plants get insufficient light, they tend to grow taller as a way of seeking out more light.
If you notice this problem, you will probably need to reposition the grow lights for better coverage and/or intensity.
Inspect you herbs regularly for any discoloration in the leaves too. Yellowing or browning leaves can be caused by various factors, including watering and nutrition issues.
Keep an eye on your watering habits and ensure your herbs receive adequate hydration without waterlogging the soil. And the same goes for nutrients; giving your plants either too much or too little can cause issues.
Growing Herbs Indoors With Artificial Light: Final Thoughts
Wasn’t that easy? Growing herbs indoors under artificial lights is every bit as easy as growing them under natural light. In many ways, it is even easier.
With artificial light, you never have to worry that your plants are not getting insufficient light. If they need more, you can easily provide more. Yes, you have to buy and set up grow lights, but the types of lights you need for a small herb garden do not cost much and are as easy to use as hanging them up and plugging them in.
Paul W. Holland says
I bought White Widow Feminized seeds and started them end of March. They all are looking great and I bought Foxfarm Grow Big 6-4-4 every other watering and I’m happily in charge of 7 beautiful plants in my spare bedroom under a grow tent with fluorescent grow lights about a foot off the tops. I have to keep them topped cuz I’m pretty urban and I don’t want prying eyes when I finally put them outside this summer. So far, so good. Thanks.
Steven says
Nice. The best kind of herbs to grow. And yeah, the fewer people who know about it the better. Always.