 There are so many things to deal with during the vegetative stage of growth.
But we’re going to keep things as simple as possible.
That means we’re only going to focus on the necessities.
Those things that have the biggest impact on your yields.
You want to get the basics down first.
Then after you have a few grows under your best, you can add in additional techniques to maximize yields.
Contents
Guide To Vegging Cannabis
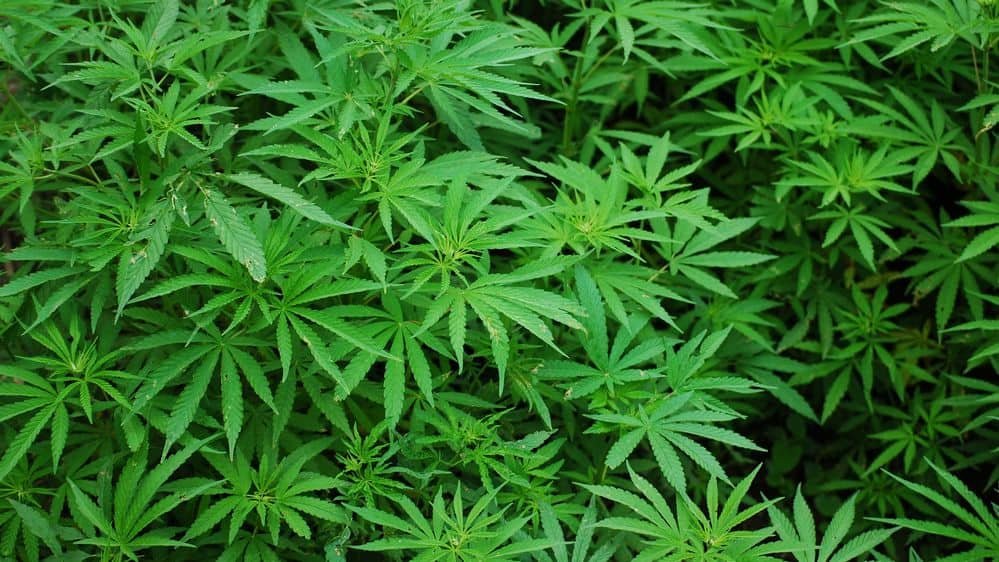
In the vegetative stage, the growth of your cannabis plants will explode. If you provide them what they need to grow, of course.
Your plants will need light, water, nutrients, and the right temperature and humidity. We will cover each of those things below, so you know exactly what you need to do during this stage of growth. Let’s start with the light.
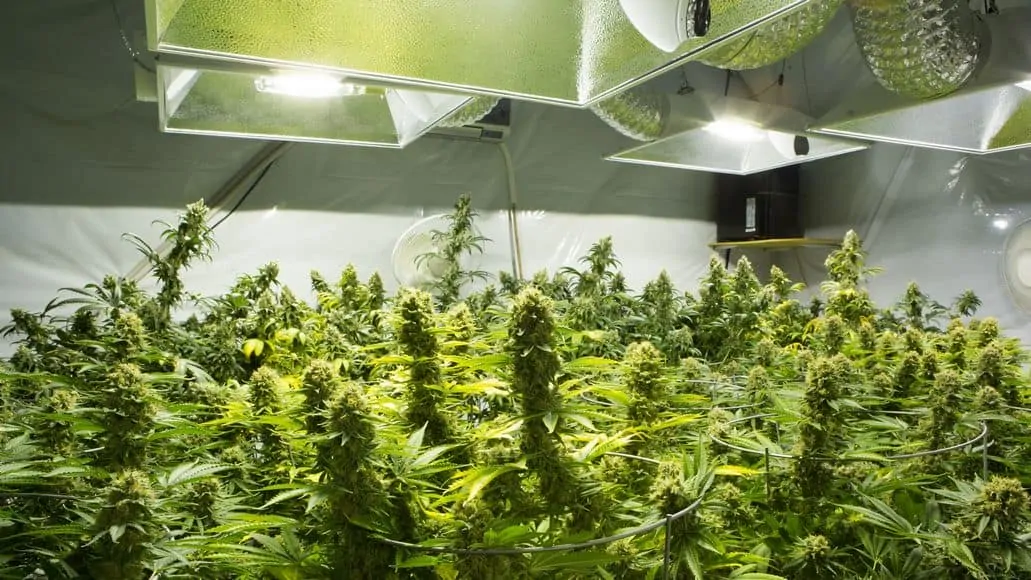
Lighting During Vegging
I’m sure you’ve read all kinds of articles about various light spectra and the colors of light you need for vegging and flowering. Forget all that.
White light contains all other colors. Sunlight is white light and that is the type of light plants grow in naturally. The best grow lights on the market these days all emit white light.
So forget about different colors of light and just get a white light. That way you can use the same light during all stages of growth.
If you’ve been following my recommendations, you’ll know that I recommend white LED grow lights for everyone, not just beginners.
Spider Farmer is my top value choice for lighting. HLG is my top choice of American brands.
Get a light that has a coverage area that matches the size of your grow area. If one light won’t cover it, get several.
Lighting Schedule
To keep things simple, run your lights for 18 hours a day and keep them off for the other 6 hours.
Of course, those times are not the only option. You can run your lights anywhere from 16 hours to 24 hours a day. All times have their advantages, but this is not something to worry about for your first grows.
Just go with 18 hours per day of light for now. Use a timer to turn the lights on and off automatically.
Vegging marijuana plants don’t need as much light intensity as flowering plants. If you have a dimmable light, dim it down a bit during vegging. Or hang it higher above the plants. Use the manufacturer recommended power level or hanging height for vegging.
Stretching
If you notice your plants growing tall with a lot of spacing between the nodes, this indicates that they are not getting enough light. They are growing rapidly toward the light in an attempt to get more of it.
The solution is obvious: you need to get your plants more light. Either dial up the intensity (if you have dimmable lights that are dimmed down), hang the light close to the plants, or add another light fixture.
Temperature And Humidity
Marijuana plants like a comfortable to warm temperature during the vegetative stage of growth. Try to keep the temperature in your grow room between 70° and 80° F (21° and 27° C) during the day, and slightly cooler at night.
Humidity levels should be around 50% to 70%. Weed plants like it bit humid during vegging, but you don’t want it too humid, in order to prevent excessive moisture and mold growth.
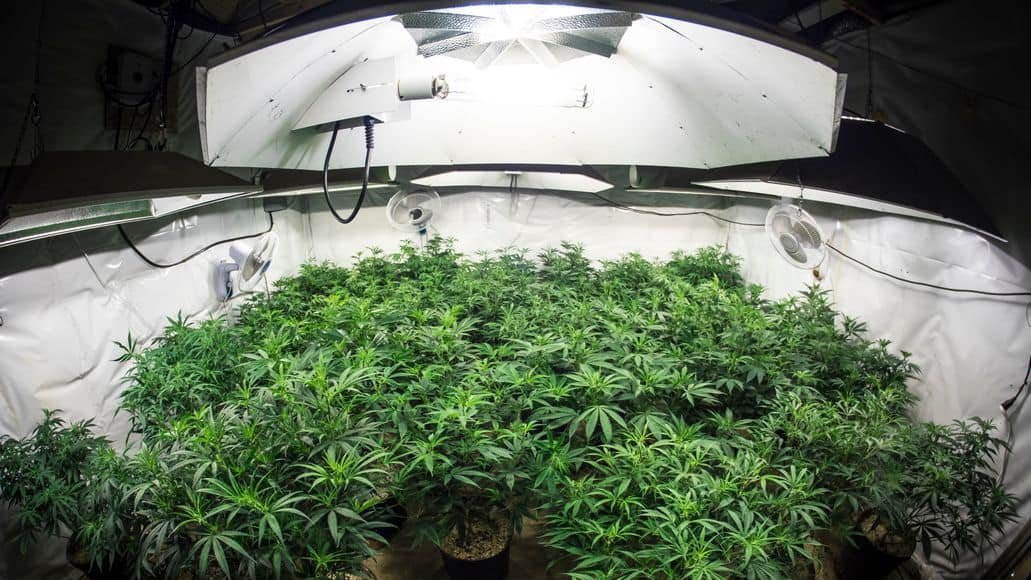
Your oscillating fans should continue to blow and circulate air. The leaves should always be moving. This prevents hot spots, helps plants grow stronger, and ensures your plants are getting the carbon dioxide they need for photosynthesis.
Depending on the climate where you live, you will likely need to ventilate your grow tent during vegging, in order to maintain the proper temperature range. You should already have your ducting set up, so go ahead and turn on the inline fan, if you haven’t already done so.
If the humidity in the tent is too high or too low, you may need to get a dehumidifier or a humidifier.
Water And Nutrients
If you are following my recommendations and using fabric pots with coco coir growing medium, watering and nutrition is fairly simple.
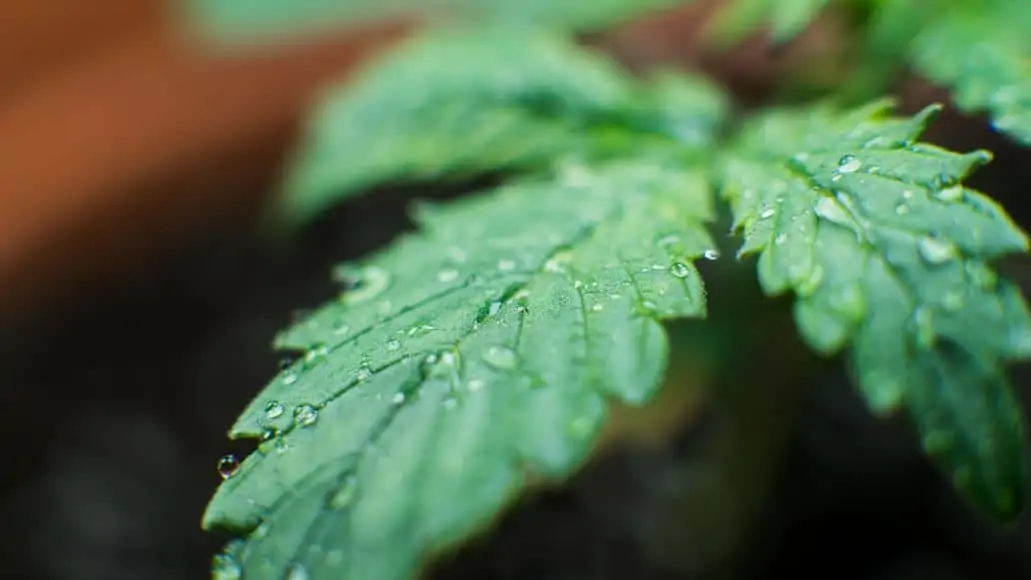
Water your plants every two days. If the top inch of the coco still feels wet when it comes time to water again go ahead and wait another day. Then give your plants less water next time, so that they are ready for more water on the second day after watering.
If you are using soil, water whenever the top inch of soil feels dry. This is different from coco, where the top inch does not need to feel dry. It just shouldn’t be wet.
If you are adding nutrients (as you need to be with coco) you want to give enough water that about 20% of it runs out of the bottom of the pot. This ensures that there is no nutrient buildup around the roots.
Make sure you get rid of this runoff. You do not want your pots to just sit in it.
Adding Nutrients
The guidelines given on nutrient solutions always call for too many nutrients. Cut the recommended amounts in half. Add that to the water you give your plants. Make sure you are using the solution meant for vegging (growth), not flowering (bloom).
The pH level of the water is extremely important. If it is not within the correct range, the roots will not be able to absorb the nutrients they need. The correct range differs depending on the growing medium:
- Soil: pH of 6.0 – 7.0
- Hydro/Soilless/Coco: pH of 5.5 – 6.5
Test the water pH after you have added the nutrients. If you need to adjust it, use your pH up or down solution. The pH down solution is much stronger then the pH up one, so just add a little bit and retest with that one.
With pH up, you can add a bit more at once, but still be careful. It is always best to go a bit at a time and retest the water, until you have it in the correct range.
Take note of how much solution you added. If you keep using the same water source, you will always need to make the same adjustment. Knowing exactly how much pH up or down you need to add will speed things up for future waterings.
Once you have watered your plants, use your pH meter to test the runoff. Ideally, you want to test the earliest runoff that comes out when watering.
If the runoff is within the correct pH range, that is great. If it is not, ou will need to note that and adjust the pH of the water you give your plants accordingly in the future.
Plant Training
There are a lot of different types of plant training you can do. Many of them can have a considerable impact on yields. That said, we are trying to keep things as simple as possible for now, right?
Plant training can help improve your yields, but it is not something that you need to do in order to achieve a successful harvest.
For that reason, we will not get into things like low-stress-training, sea of green or screen of green, etc. Save those for future grows, once you have a few successful basic grows behind you.
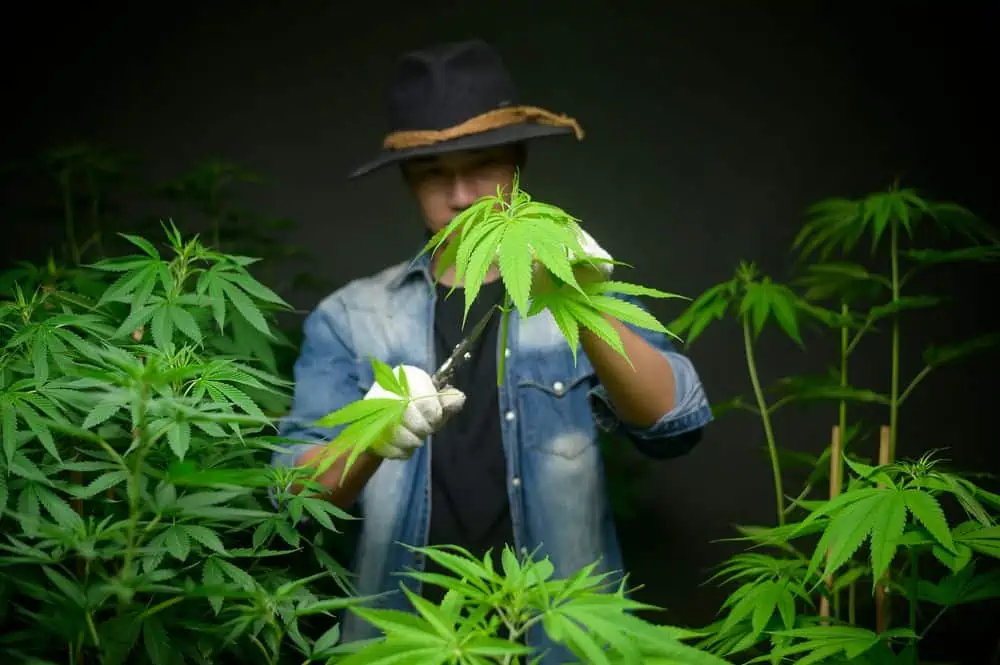
But we will do a bit of pruning. It is easy enough and can make a big difference. The first thing we will do is top the plants.
Topping
Topping involves cutting off the main stem and leaving only the branches growing off to the sides. This encourages the plant to grow multiple stems, which means more bud sites, and thus more yield.
Of course there is also a drawback. Topping will stall growth temporarily, meaning it will take an extra week or so until you reach harvest time.
You have to decide whether it is worth it. I recommend topping once (you can actually do it multiple times, to create ever more bud sites).
Top your plants after they have grown 4 nodes. Use a sharp, sterile blade. I would use a good pair of trimming shears (something you’ll want to get eventually anyway), but you can also use a razor blade.
Make sure you sterilize your cutting tool with UV light or rubbing alcohol before making the cut.
Make a clean cut through the stem, half an inch to an inch above the lateral branches of the 4th node. If you want to top again, wait two weeks before topping each of the two new branches. And so on.
You can keep topping as much as you like to increase the number of colas, but each time you do it, you slow down your growth. For your first grow, I recommend just topping your plant once.
In addition to topping, we also want to do some pruning.
Pruning
We are not going to do much pruning on this first grow. All we’re going to do is cut off branches toward the bottom of the plants that are not getting much light anyway.
These branches will never amount to much due to a lack of light, so why keep them? They will only eat up resources. Better to cut them off and let your plant divert its resources to branches that get more light and can thus grow big leaves to collect light and big buds.
To prune, you also want to use a sharp, sterile tool. Using a dull tool will result in a jagged cut, which can invite parasites and will also result in slower and more uneven growth.
When To Start The Flowering Stage
When you start the flowering stage is completely up to you. You make the change by simply changing the lighting schedule. Switch to a schedule of 12 hours on and 12 hours off to signal to your plants that it is time to start flowering.
Simple as that.
The obvious question is: when is the best time to switch from vegging to flowering? Well, that depends on a few things, but primarily on how tall you want your plants to get.
You can technically begin the flowering stage any time after roots have been established, if you are using clones. Seedlings should get an additional 2-3 weeks to mature. Ideally though, you want to leave plants in the vegetative stage for at least 60 days.
You can keep your plants in the vegetative stage forever, as long as you never switch to a 12-12 lighting schedule. In fact, this is what growers do with a mother plant, so that they can keep taking clones from it for future grows.
In general, you can figure that your plant will continue to grow to double its current size, once you switch to flowering. That means, you’ll want to make the switch once your plants are around half as tall as you would like them to end up being.
Of course, this does depend on the strain you are using. If you are growing Northern Lights (the strain I generally recommend for growers), this rule of thumb holds.
But if you are growing a strain labeled as “short”, you can expect that it won’t grow quite as much during flowering. A strain labeled “tall” will more than double. It could even triple in size.
Vegging Your Cannabis Plants: Final Thoughts
Weed plants are pretty tough. Even if you mess things up and they suffer problems as a result, if you recognize the issues and fix them, you can still enjoy a successful harvest.
That’s why you should always keep an eye on your plants and look out for anything that looks out of the ordinary. If you see something, you can always look it up and find out what might be causing the issue and how to fix it.
We have a lot of articles on this site, so you can probably the one you need using the search function. We also have an article that specifically goes over the most common cannabis growing problems.
Anonymous says
Amazing talk 🏋️♂️
derek campbell says
Thanks for the info but I am a first time grower I’ve got 5 plant’s 4 months old all outdoor. I need help on that thank you