 Growing weed is not hugely difficult.
But there are a lot of little things to pay attention to.
Keeping the grow space clean is one of them.
Cleaning your tent between grows ensures you give your plants a better chance at success
And if you know how to clean a grow tent correctly, it is a simple process.
So keep reading for a detailed step-by-step guide to cleaning a grow tent.
How To Clean A Grow Tent
Cleaning your grow tent between every grow is a good idea. And if you had any issues with a grow, such as a spider mite infestation, powdery mildew, or a hermie plant, disinfecting your tent completely before the next grow is vital.
Before we get to the actual cleaning of the grow tent, let’s quickly go over a list of materials you are going to need.
Materials Needed
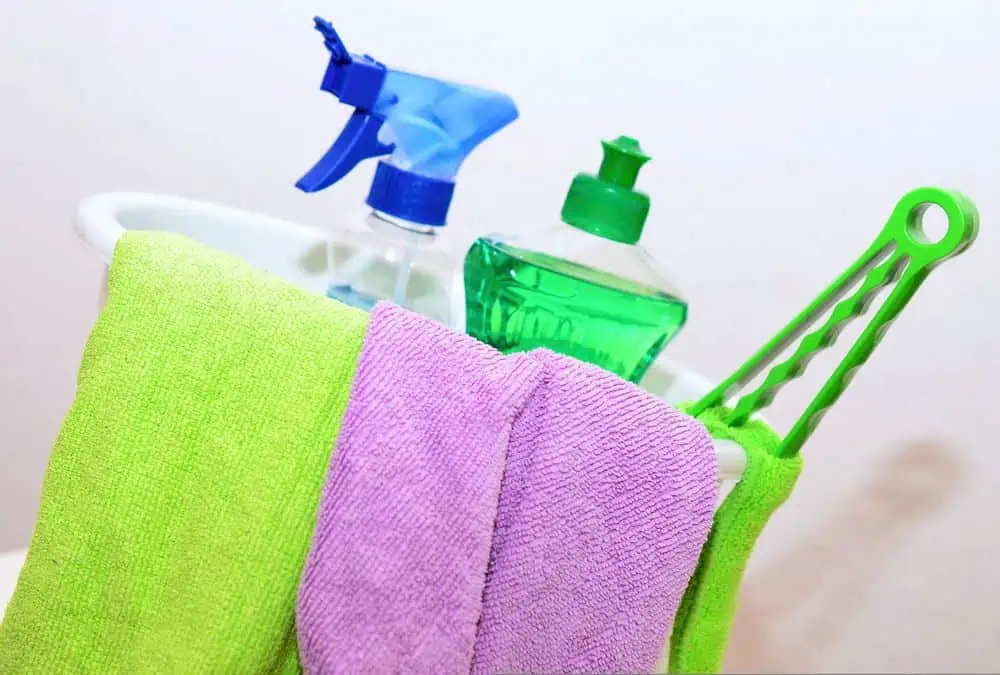
To thoroughly deep-clean your grow tent, you will need the following materials:
- Bleach or Another Cleaner: Choose a suitable cleaning agent to sanitize both the interior and exterior of your grow tent.
- 3% Hydrogen Peroxide: Consider using hydrogen peroxide for its disinfectant properties, especially for cleaning hard-to-reach areas.
- Shop Vac: Have a decent shop vac on hand to clean your grow tent floor and remove any debris or dirt particles.
- Vinegar Solution: Prepare a solution of vinegar and water to clean your lighting system.
- Dishwashing Liquid: You can use a mixture of dishwashing liquid and warm water to clean your pots and growing containers.
- Tools and Gear Cleaning Supplies: Ensure you have the necessary cleaning supplies to sanitize any tools or equipment before reintroducing them to the grow tent. Soft brushes and cloths will be very useful.
Step 1: Empty Your Grow Tent
To thoroughly clean your grow tent, it’s best to time your deep-clean for in between grows. And the first step will be to remove everything from your tent so you start with a blank canvas, so to speak.
By emptying the space completely, you’ll have much easier access to all the hard-to-reach corners and will be able to work much more freely.
Make sure you carefully remove all pots, grow lights, fans, and any other equipment or accessories from the grow tent.
Before you start to randomly remove things, it would also be a good idea to organize a space outside your tent where you can place the items, so they will be ready to clean before you put them back inside and reassemble your grow tent.
Step 2: Clean The Interior And Exterior

Once your grow tent is cleared, the next step is to give the inner and outer walls a solid clean. First, prepare a cleaning solution using bleach or a similar cleaning agent.
Then wipe down all the interior surfaces of your grow tent, paying special attention to any nooks and crannies that may be inviting to mold and mildew.
Next, clean the outside walls of your grow tent using the same cleaning solution. Ensure that all external surfaces are free from dirt, dust, and any potential sources of contamination.
For a deeper clean, you can also use 3% hydrogen peroxide in addition to your chosen cleaner. This can be particularly effective for targeting hard-to-reach corners and providing an extra layer of disinfection.
Finally, use a shop vac to clean the grow tent floor, removing any debris or buildup that may have accumulated, also paying extra attention to the corners. This will help maintain a clean and hygienic environment for your next crop of plants.
Step 3: Clean Your Grow Tent’s Fans And Filters
Once the main interior and exterior surfaces are cleaned and disinfected, you can turn your attention to the fans and filters. The fans and filters are the lungs of your grow tent system, and making sure they are clean and running smoothly will help you get the most from your next crop.
Carefully remove the filters from the ventilation system and clean them using a gentle brush or by following the manufacturer’s recommended cleaning instructions. Clean filters help maintain optimal airflow and prevent the buildup of contaminants within your grow tent.
Next, use a soft brush or cloth to gently remove any dust and debris that may have accumulated on the fan blades and surrounding areas. Ensure thorough cleaning to prevent obstruction of airflow and maintain the efficiency of the ventilation system.
After cleaning and drying, inspect the fans and filters for any signs of damage or wear. Pay special attention to the filters, and if they are showing signs of wear, maybe replace them with new ones before starting your next grow.
It is then a good idea to test the equipment to ensure that it is functioning as it should, before reinstalling it in the grow tent.
Step 4: Clean The Hydroponic Systems
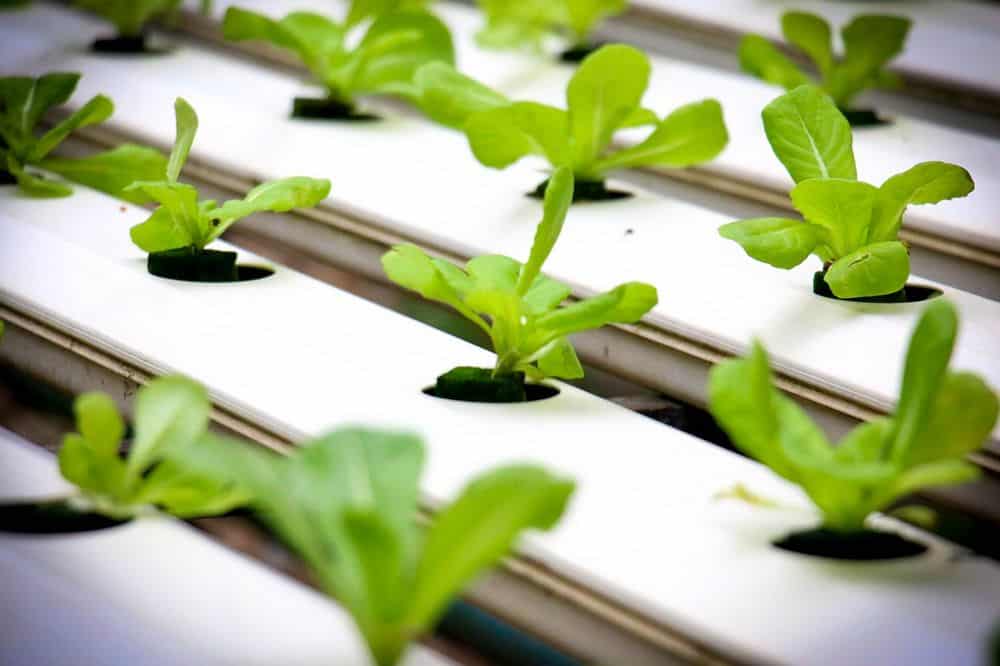
If you are using a hydroponic system in your grow tent, you’ll want to give that a thorough clean next. First, disassemble the hydroponic system, and then place the parts in a hydrogen peroxide and water solution and leave it to soak for 4 to 6 hours.
Next wipe down and scrub the other containers with a soap and hot water mix. Then disinfect them with hydrogen peroxide.
Once all the parts are clean and dry, reassemble the system and run pure water through it for a few cycles to flush out any remaining impurities and cleaning solution.
Step 5: Clean the Lighting System
First, using a damp soft cloth, gently wipe down the top of your grow lights to remove any dust and dirt. Then give them an additional wipe down with sterile wipes to kill any residual bacteria and remove any more stubborn stains.
To clean the reflectors, use the vinegar-water solution, as bleach or hydrogen peroxide may be too corrosive and can potentially damage your system.
Dip a soft cloth into the solution and wipe down your grow light reflectors, then switch to another dry cloth and wipe off any vinegar residue. After drying, test the lights to make sure everything is working correctly.
We have an entire article on the best method for cleaning LED grow lights. It details the entire process step-by-step.
Step 6: Clean Your Pots
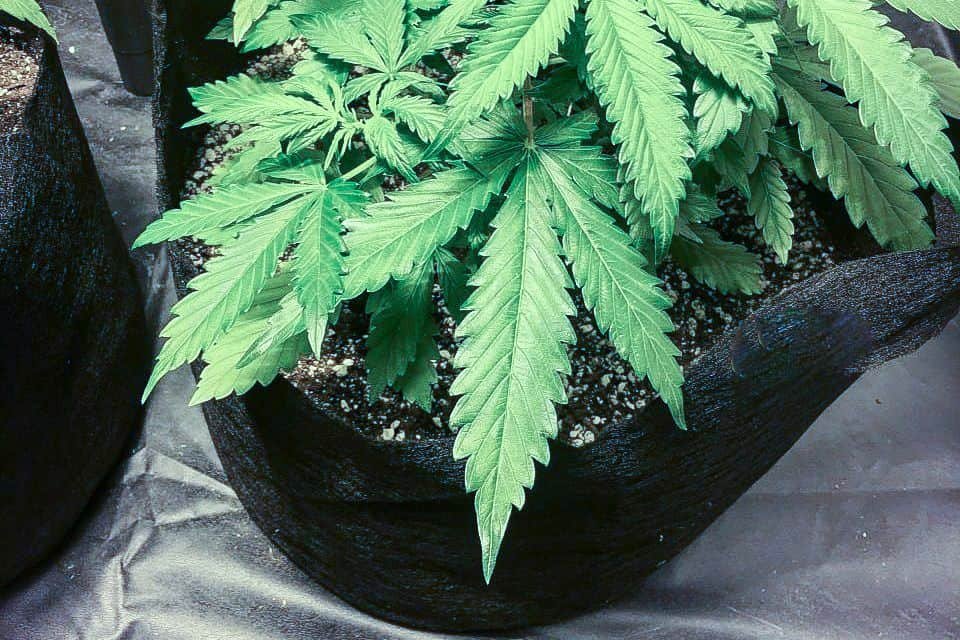
We’re almost there, but you still need to clean your pots and growing containers. Take them outside and thoroughly clean them with warm water and dishwashing soap.
Be careful to remove all debris and dirt deposits that may have accumulated. Be especially vigilant of any corners and under the rim.
Rinse the soapy water off your pots, then leave them in the sun to fully air-dry. If you use fabric grow containers, you can also use a washing machine for quicker cleaning.
Once they are clean and fully dried, they are ready for your next crop of plants, which should grow perfectly in your newly cleaned grow tent.
Cleaning A Grow Tent: Final thoughts
Maintaining a clean grow space is essential to provide the plants with the best chance of success. Of course, this is easier with a small tent than with a large tent, but if you have a system, it will always go faster and more smoothly.
By following this detailed step-by-step guide on how to clean a grow tent, including thorough interior and exterior cleaning, attention to fans, filters, hydroponic systems, lighting systems, and pots, you can create a clean and hygienic environment for your plants to thrive.
Regular and meticulous cleaning of your grow tent will contribute to the overall health and success of the crop.
Leave a Reply