 You may have heard that gnats are harmless to your plants.
That is true. But only for the adult gnats.
The larvae are a different story.
They feed on the roots and can damage your plants, especially if the plants are still in the early stages of growth.
In other words: those gnats need to go.
Luckily, there are a number of effective methods for getting rid of gnats before they harm your cannabis plants.
Keep reading to learn how to get rid of gnats in the grow room. I suggest starting with the method that seems easiest. If that does not get rid of the gnats completely, try another method.
Contents
- 1 How To Get Rid Of Gnats In Grow Room
- 2 Eliminate Gnats From Grow Room: Final Thoughts
How To Get Rid Of Gnats In Grow Room
All nine of the methods can work to eliminate gnats in your marijuana grow room. But some may not be as effective for large infestations. If one method does not get rid of all gnats, try another one.
The most quickest and most effective way to eliminate a gnat problem is to combine two methods. Use one method that attacks adult gnats in combination with a method that attack the larvae.
Method One: Gnat Trap
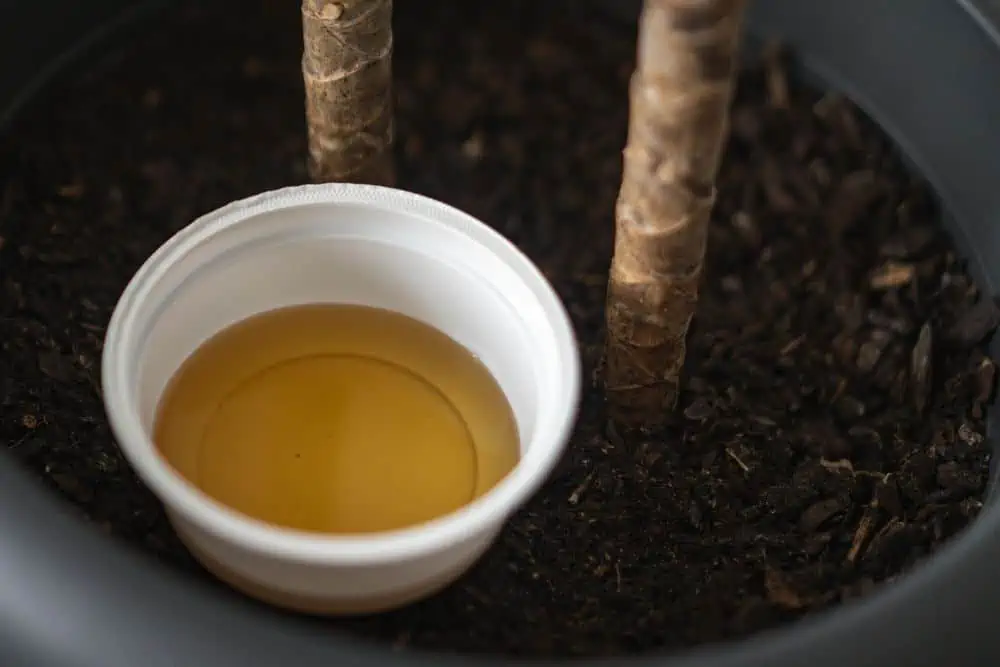
Setting up homemade gnat traps is one of the easiest methods to get rid of gnats, but if the infestation is large, this method may not be 100% effective. It is always worth giving a try, though.
Materials Needed
- Apple Cider Vinegar
- Dishwashing Soap
- Sugar
- Saucer
Step 1
Take a clean saucer and add a few tablespoons of apple cider vinegar.
Step 2
Add a few drops of dishwashing soap.
Step 3
Add a little bit of sugar and mix.
Step 4
Place the saucer in close proximity to your infested plant, and wait for the gnats to take the bait. The gnats will be attracted by the sugar in the solution and will fall in and become trapped.
Once the solution is full of gnats, remove it and replace it with a fresh mix. Repeat the process until all the gnats have gone.
Method Two: Fly Paper
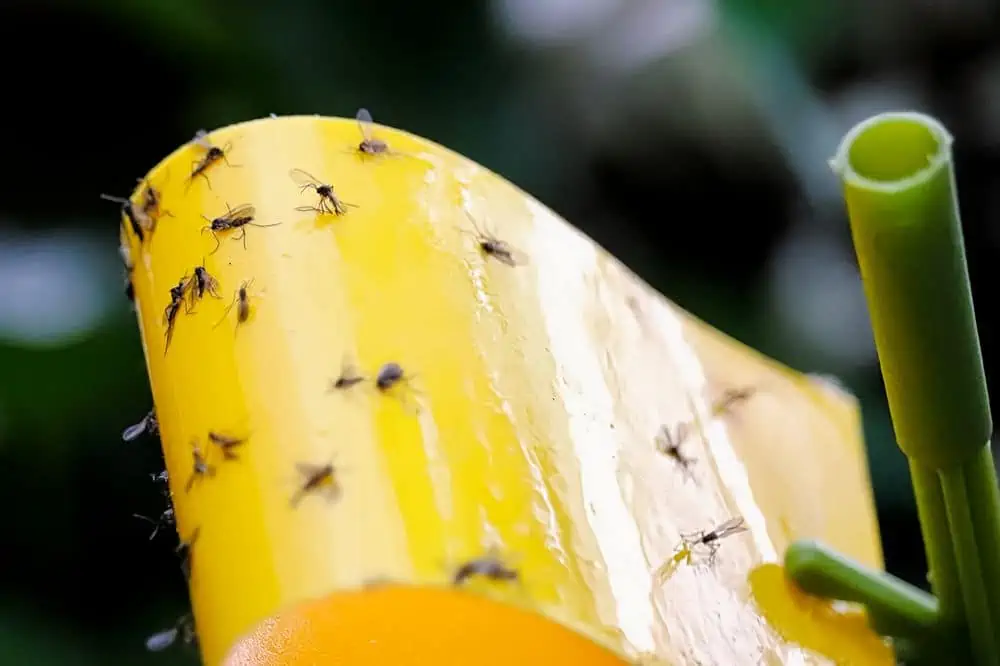
Simply hang some sticky fly paper in close proximity to your infested plants and wait. Replace the fly paper if it gets full of gnats, and repeat until there are no longer any gnats being attracted to the fly paper.
Fly paper is similar to the DIY gnat trap from method one in terms of effectiveness. If your infestation is large you may need to combine it with another method that attacks the larvae in the soil.
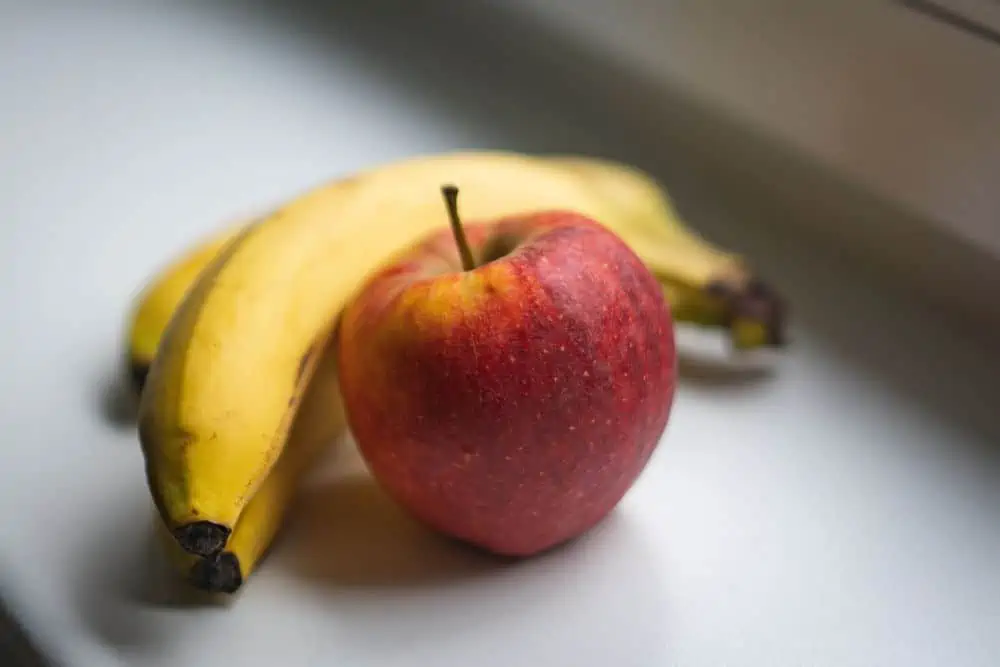
Method Three: Fruit Trap
The fruit trap is my least favorite method of the first three, all of which are fairly similar. They all trap adult gnats, but do nothing to eliminate larvae. Of course, without adults, there are also no larvae.
Materials Needed
- Overripe Fruit
- Plastic Wrap
- A Bowl
Step 1
Take a clean bowl and place some overripe pieces of fruit inside it.
Step 2
Cover the bowl with some plastic wrap, and pierce a few holes in it.
Step 3
Now you need to wait for a while, and the gnats will be attracted by the overripe fruit. After the gnats have found their way into the trap and feasted on the fruit, they will then have difficulty finding their way back out and will become trapped. Simply discard the trap when it’s full of gnats and repeat the process until they have all been removed.
Method Four: Soil Amendments
All you need to do for this method is to simply add diatomaceous earth to the top of the soil in your plant pots.
A diatom is any member of a large group comprising several genera of algae, specifically microalgae. Diatomaceous earth consists of the fossilized remains of diatoms, which are ground into a powder.
The effect is twofold. Firstly, the powdered remains of the diatoms are high in silica, which is an abrasive substance.
In a similar manner to the way broken eggshells at the base of a plant can keep slugs and snails away, the abrasive nature of the diatomaceous earth will deter or injure any larvae that attempt to walk across it.
The second effect is due to the fact that diatomaceous earth is also absorbent. If the gnats come into contact with it, the diatomaceous earth absorb the lipids which coat the gnat’s body.
When the lipids are removed from the gnat’s exoskeleton, it begins to lose water through evaporation, becomes dehydrated, and ultimately dies.
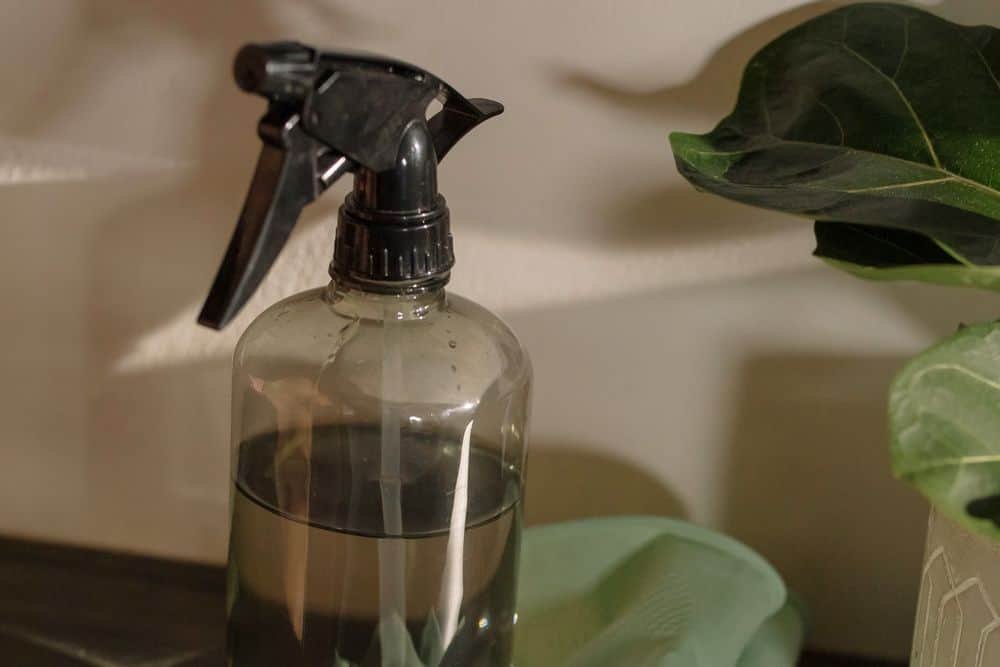
Method Five: Hydrogen Peroxide
This method attacks the larvae. It is a good method to combine with one of the ones above. The combination eliminates a gnat infestation more quickly than just one method on its own.
Materials Needed
- Hydrogen Peroxide
- Water
- Measuring Jug
- Spray Bottle
Step 1
Take the measuring jug and prepare the mixture. You should mix one part hydrogen peroxide with four parts water.
Step 2
Add the solution to your spray bottle and spray the top soil with it. The hydrogen peroxide will kill any gnat larvae in the soil and should not damage your plants.
However, hydrogen peroxide may also kill some of the beneficial microbes in your soil, so you will need to replace them by adding compost afterwards.
Method Six: Beneficial Nematodes
Nematodes are a type of worm that will hunt down and eat the gnat larvae. As such, it is another good method to combine with one of the first three.
Materials Needed
- Beneficial nematodes (widely available at garden centers and online)
- Spray Bottle
- Large bucket
- Filtered Water
Step 1
Prepare your soil. Nematodes move around the soil, hunting out the larvae to eat. In order to move around, the soil needs to be aerated and moist.
If the soil is compacted, it will hinder the nematodes’ ability to move around. Gently aerate your soil, being careful not to damage any roots, and then water the plants to add moisture.
Step 2
Next, you need to mix the nematodes with filtered water. Take your large bucket and fill it with filtered water, and follow the directions on your packaging to add the nematodes.
Step 3
Once you have the water and nematodes mixed as per the instructions, add the mixture to your clean spray bottle. Spray the mixture onto the soil around your plants and allow the nematodes to do their work.
Method Seven: Neem Oil
You can find neem oil in any garden store or in online stores like Amazon.
Materials Needed
- 100% Neem Oil (cold-pressed and unfiltered)
- Spray Bottle
- Warm water
- Dishwashing Soap
Step 1
Fill your clean spray bottle with warm water.
Step 2
Add half a teaspoon of neem oil and three or four drops of dishwashing soap, then shake the bottle to mix.
Step 3
Spray the infested plants with the mixture. It can take a few days for the chemicals in the neem oil to have the desired effect, and you should re-spray the plants each day.
As an oil, neem oil will separate from the water, and float to the top, so you should remember to shake the bottle vigorously before each use.
Method Eight: Cinnamon

Simply sprinkle some ground cinnamon on the top soil at the base of your plants. The strong smell of the cinnamon powder will help keep the gnats away from your plants.
Cinnamon contains naturally-occurring antifungal compounds. These compounds will also help prevent fungi from taking hold, which will stop the fungus gnats from being attracted to your plant in the first place. You can use cinnamon powder as both a preventative measure and a solution to the problem.
Method Nine: Let The Soil Dry Out
Perhaps the simplest method of all is to allow the soil of the infested plants to dry out. Fungus gnats and the fungus they feast on require moisture, so depriving them of this is another way of solving your gnat problem.
However, bear in mind that your plants require water too, and if your gnat problem is severe, the lack of water may be harmful to your plants before it solves your gnat problem.
Eliminate Gnats From Grow Room: Final Thoughts
Now you have an arsenal of 9 different methods for getting rid of gnats in your grow room before they can harm your weed plants. As mentioned, your best bet is to combine one of the methods that eliminates adult gnats with one of the methods that eliminates the larvae.
This combination attacks the gnats in every life cycle and thus gets rid of them more quickly. But even if you just use one method your gnat problem should subside, unless the infestation is especially large.
Of course, you will want to make sure all traces of the infestation are removed, which means a deep clean. Read our article on how to clean a grow tent for more.
Leave a Reply